CAUTION: only experts should reconfigure the mover for special setups!
Network Setup
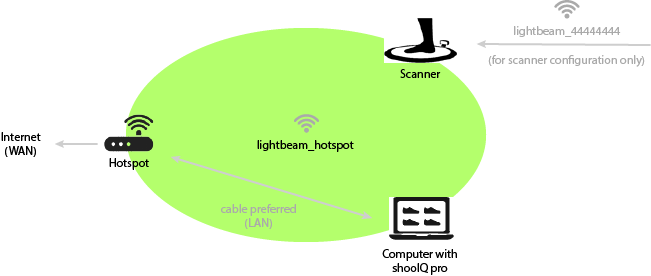
The scanner must be in the same local network as the computer with the shooIQ pro software. Therefore we provide a preconfigured Hotspot with the SSID lightbeam_hotspot with the scanner. The mover (robot) of the scanner is also preconfigured onto this SSID. Therefore you must only connect the hotspot to the internet via cable with the WAN port of the device and your computer by ethernet cable to the LAN port of the hotspot (or by WiFi with the lightbeam_hotspot).
Change the WiFi network
In special setups like conventions or presentations you probably need to use an own WiFi network with internet connection. Therefore you have to
- configure the scanner
- connect your computer to the same network
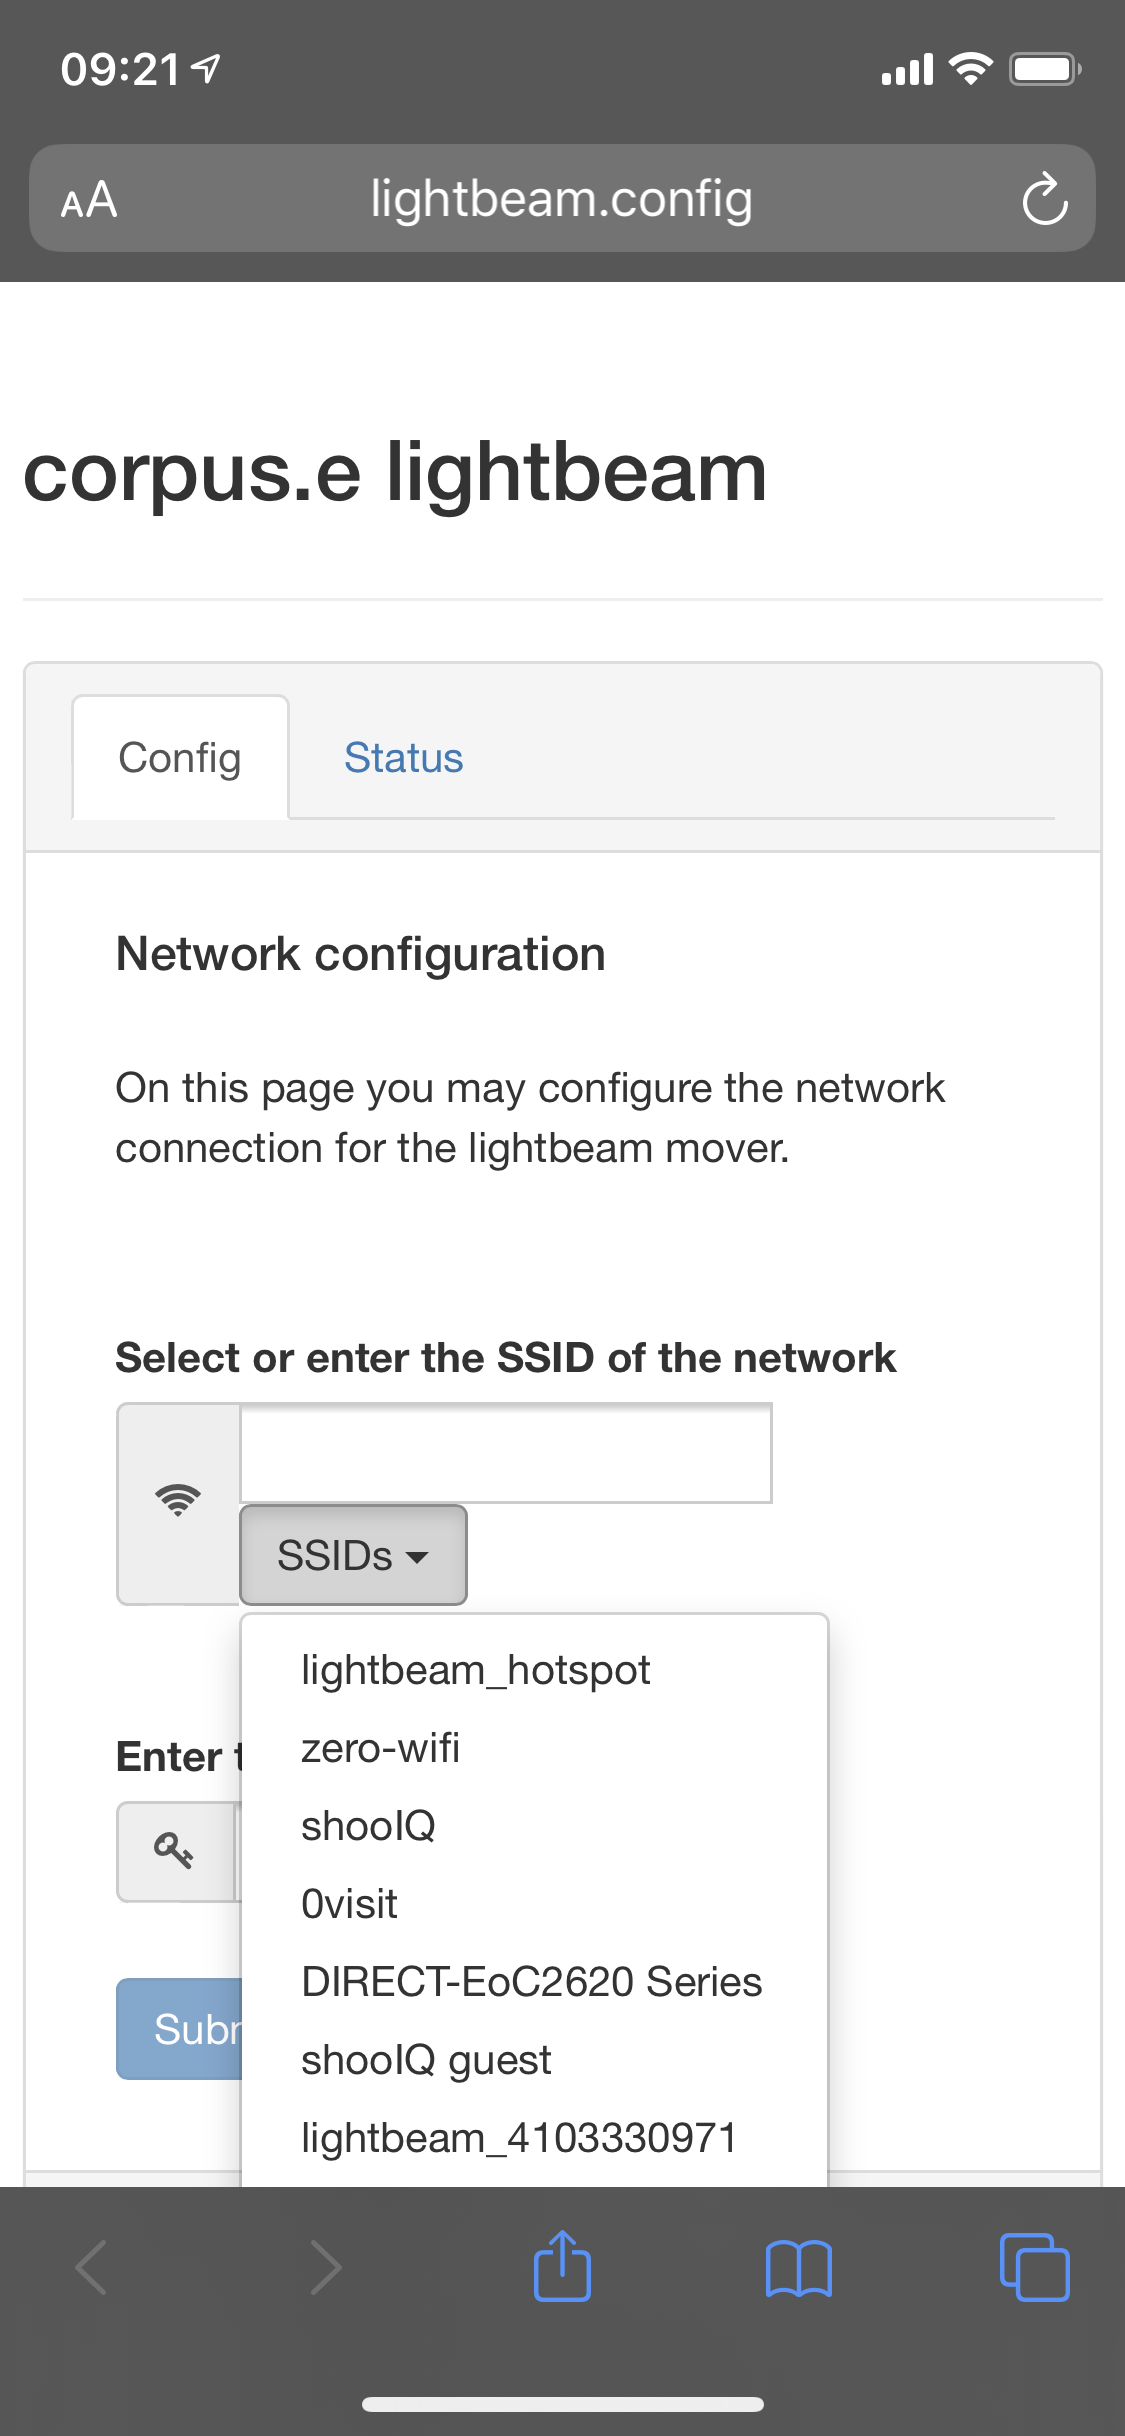
To configure the scanner, please follow these steps
| Connect a device to the configuration WiFi of the scanner | Browser | Configuration | Test the configuration | ||||
|---|---|---|---|---|---|---|---|
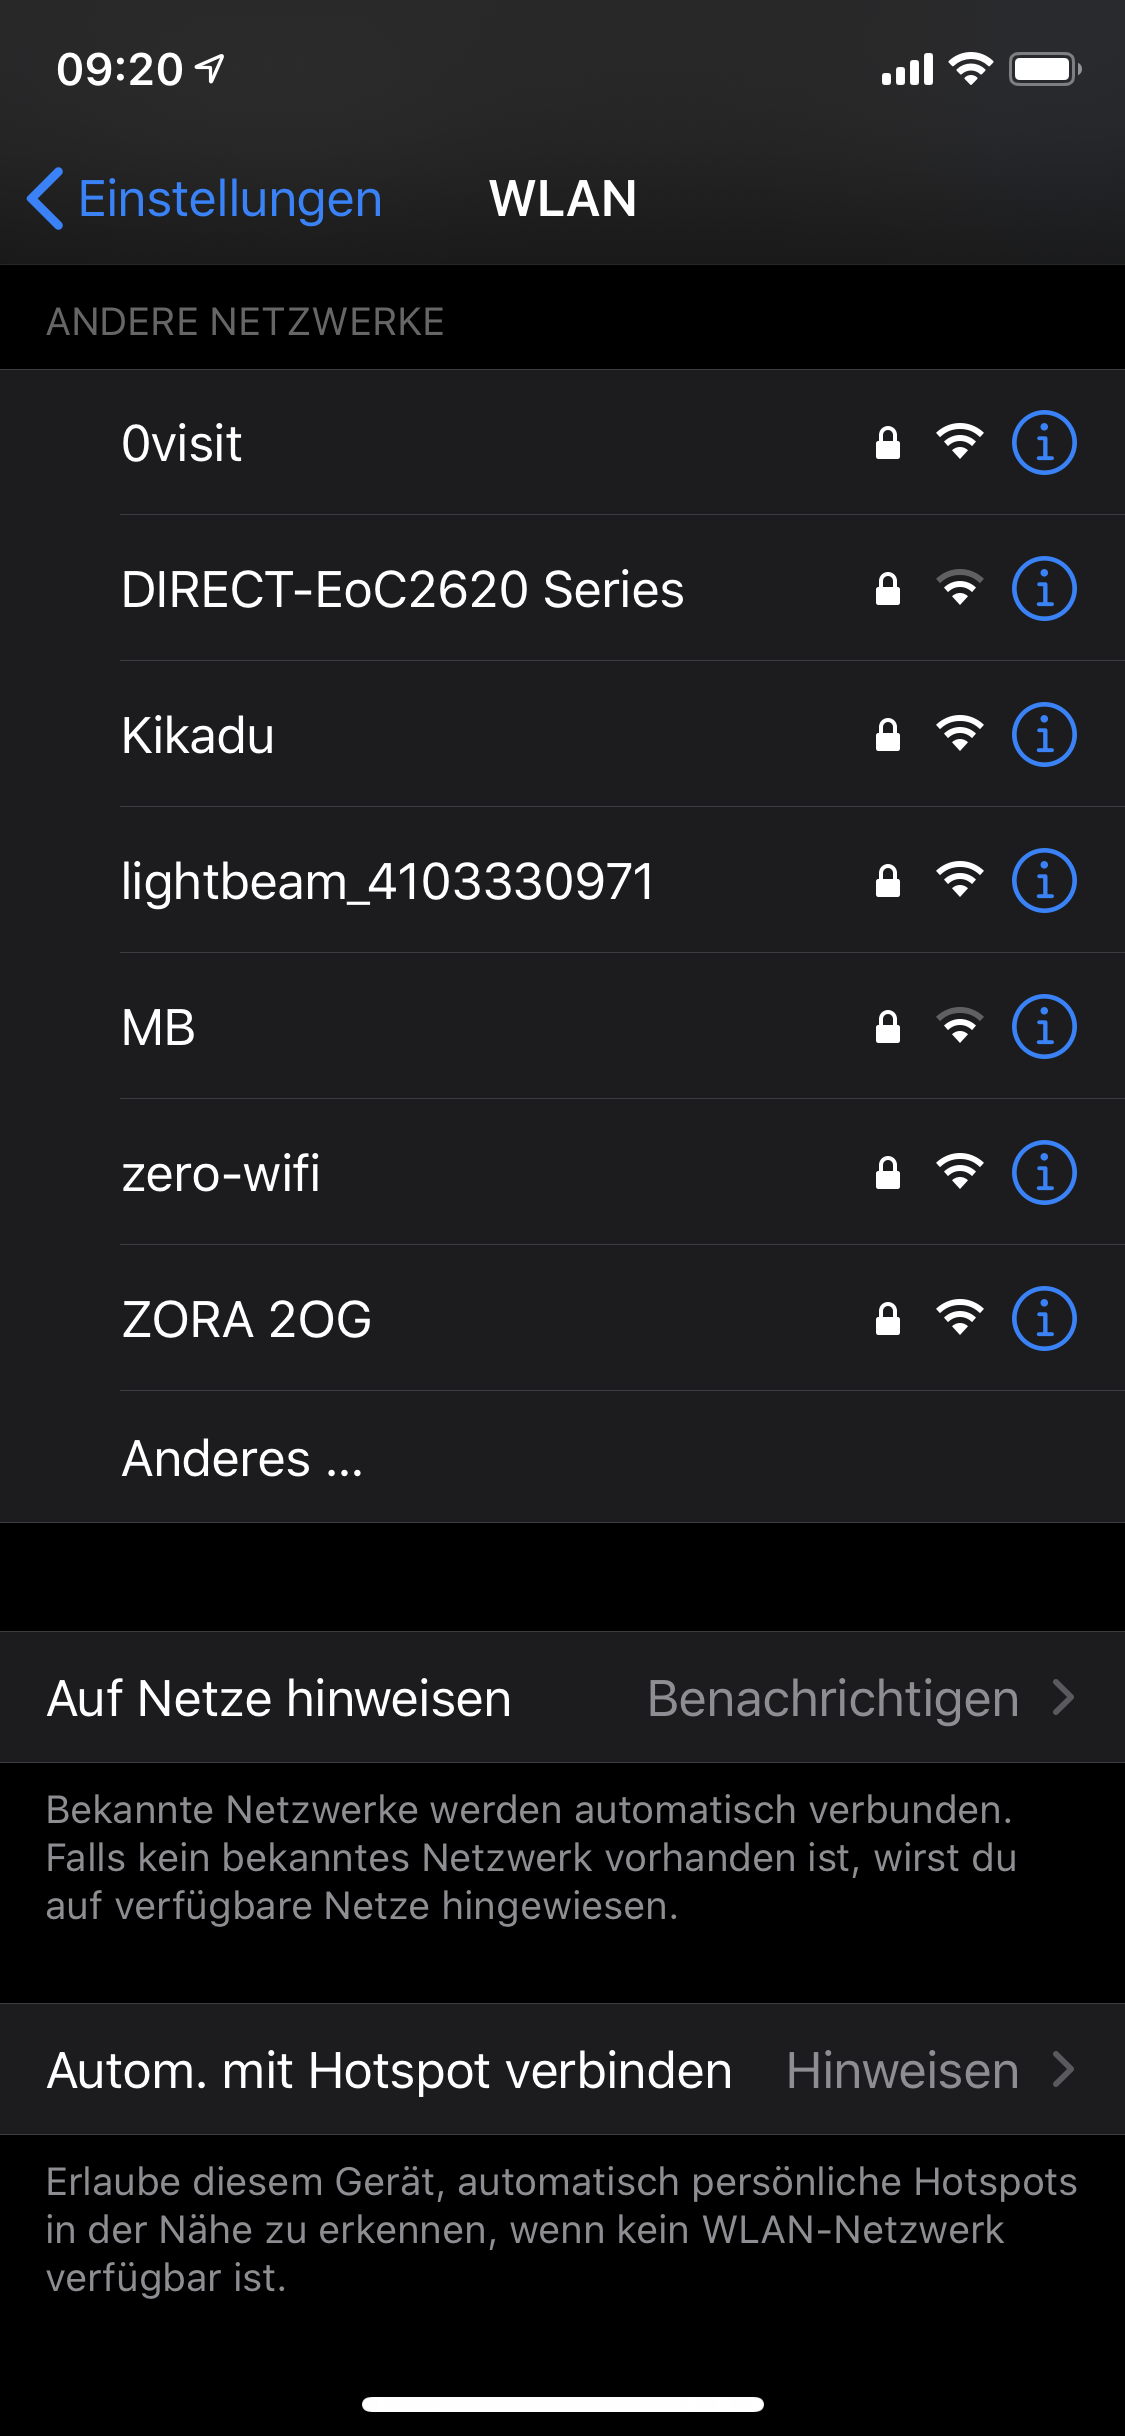
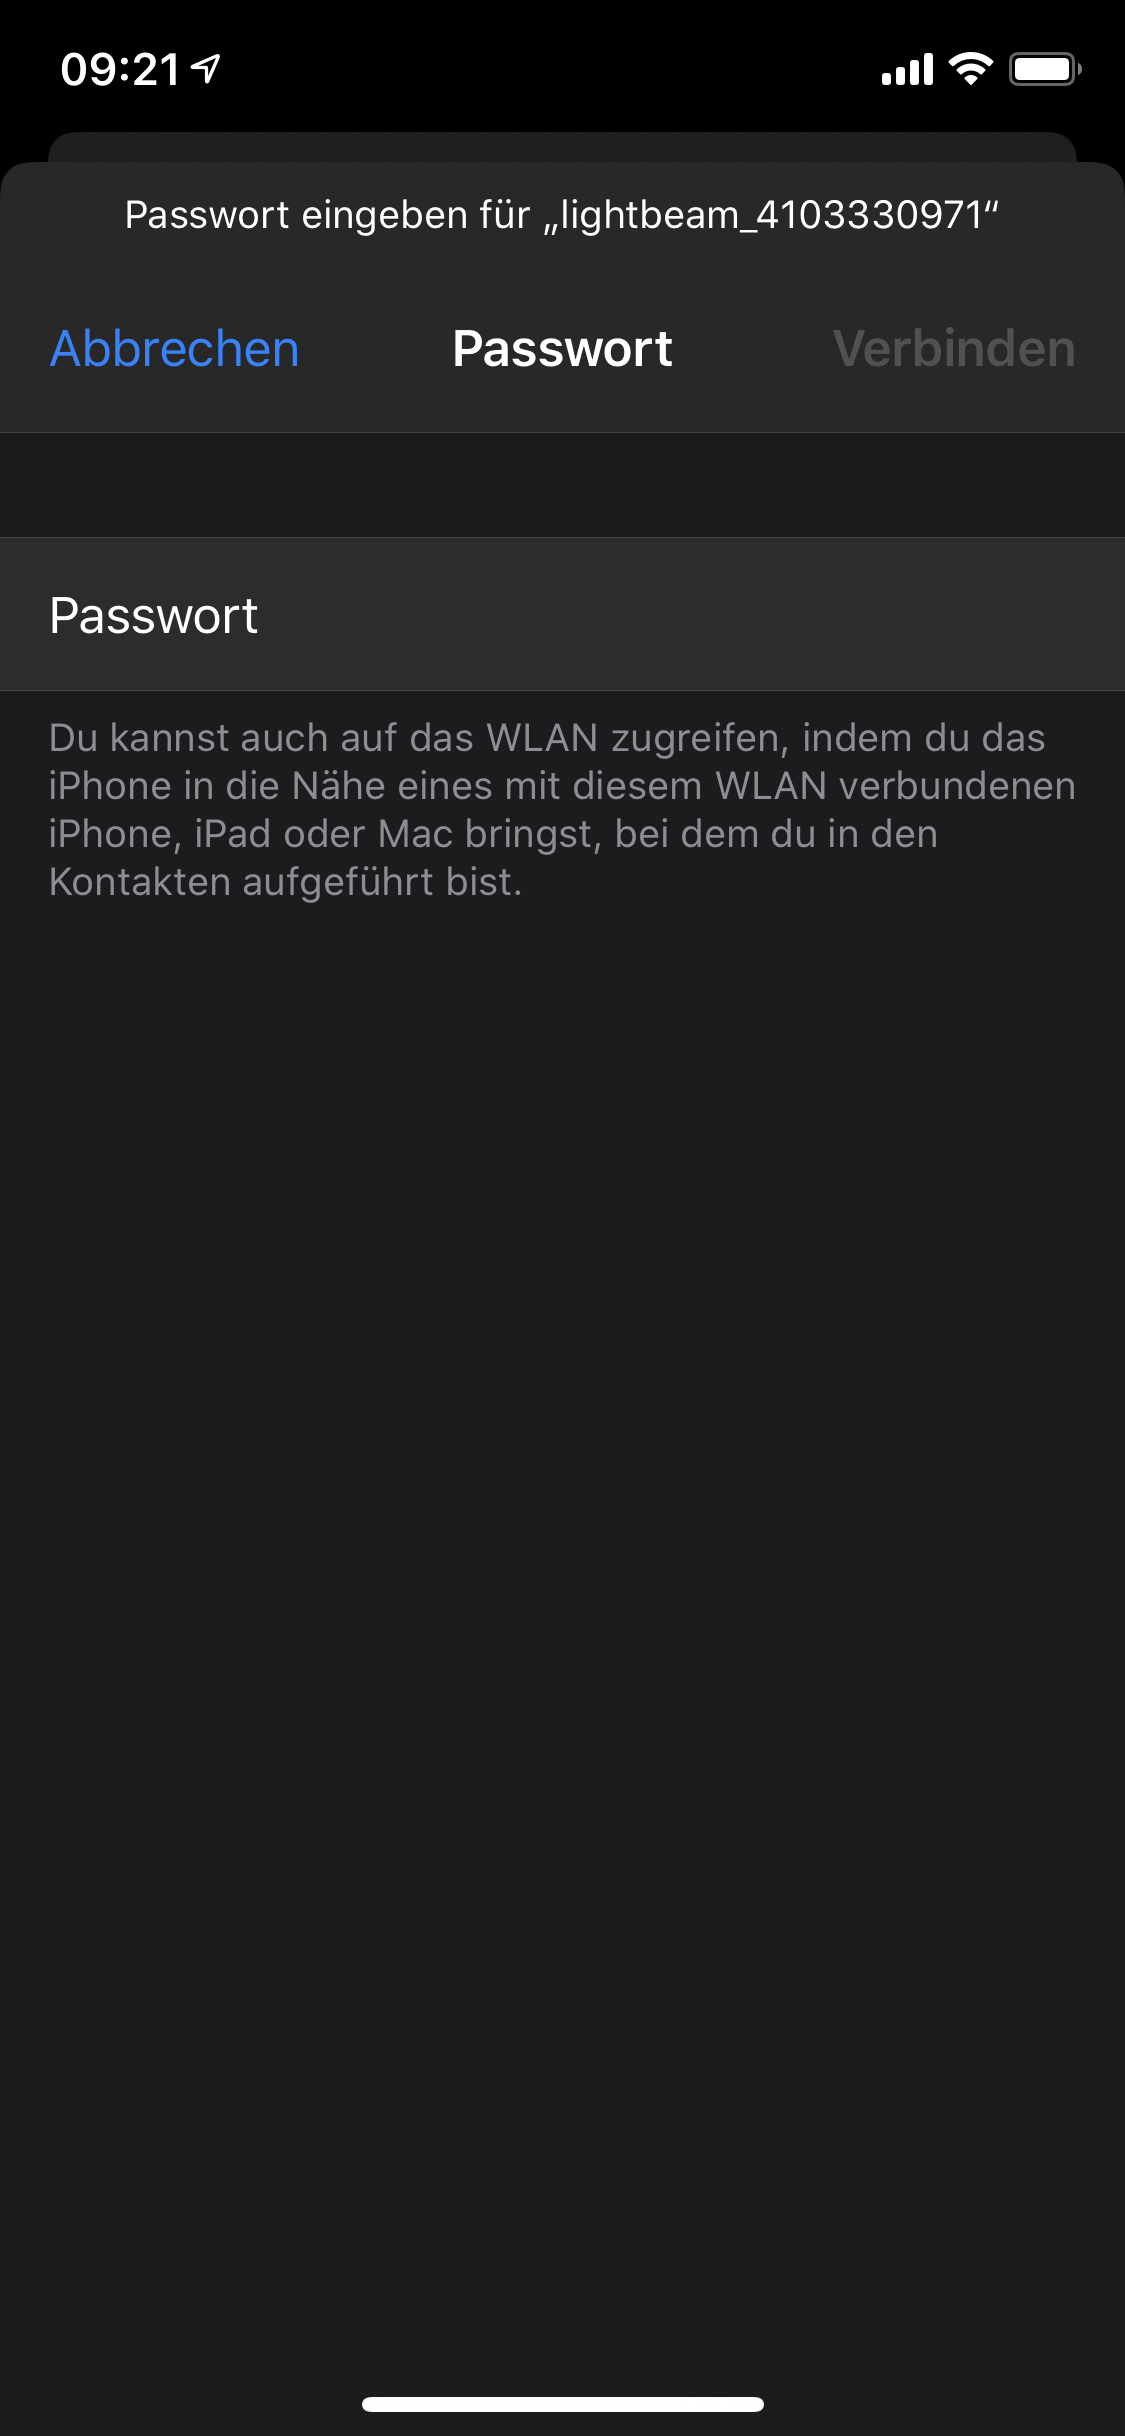
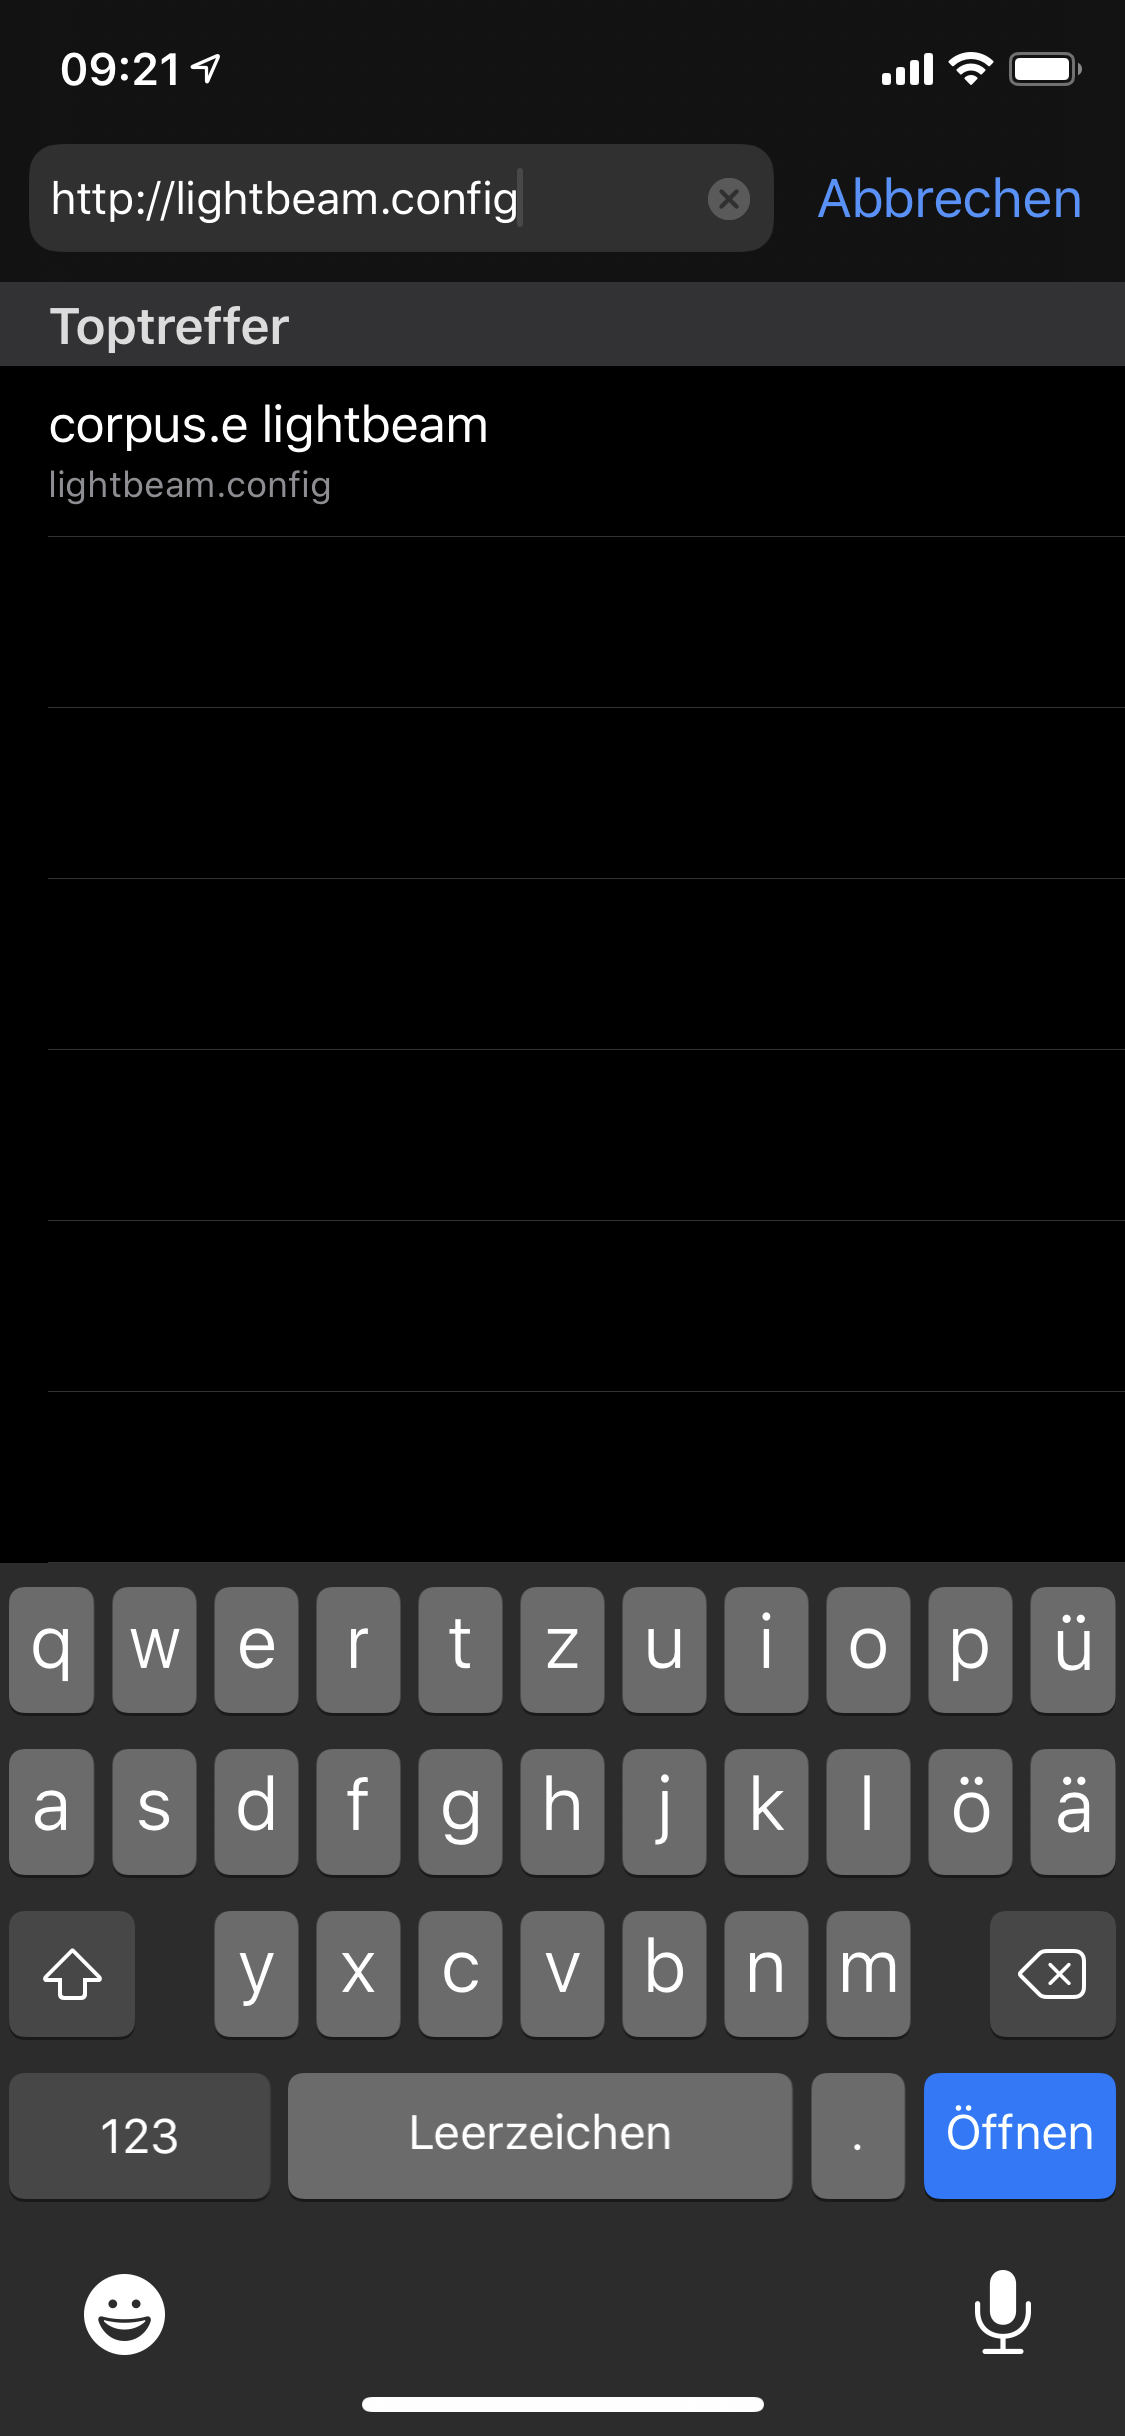
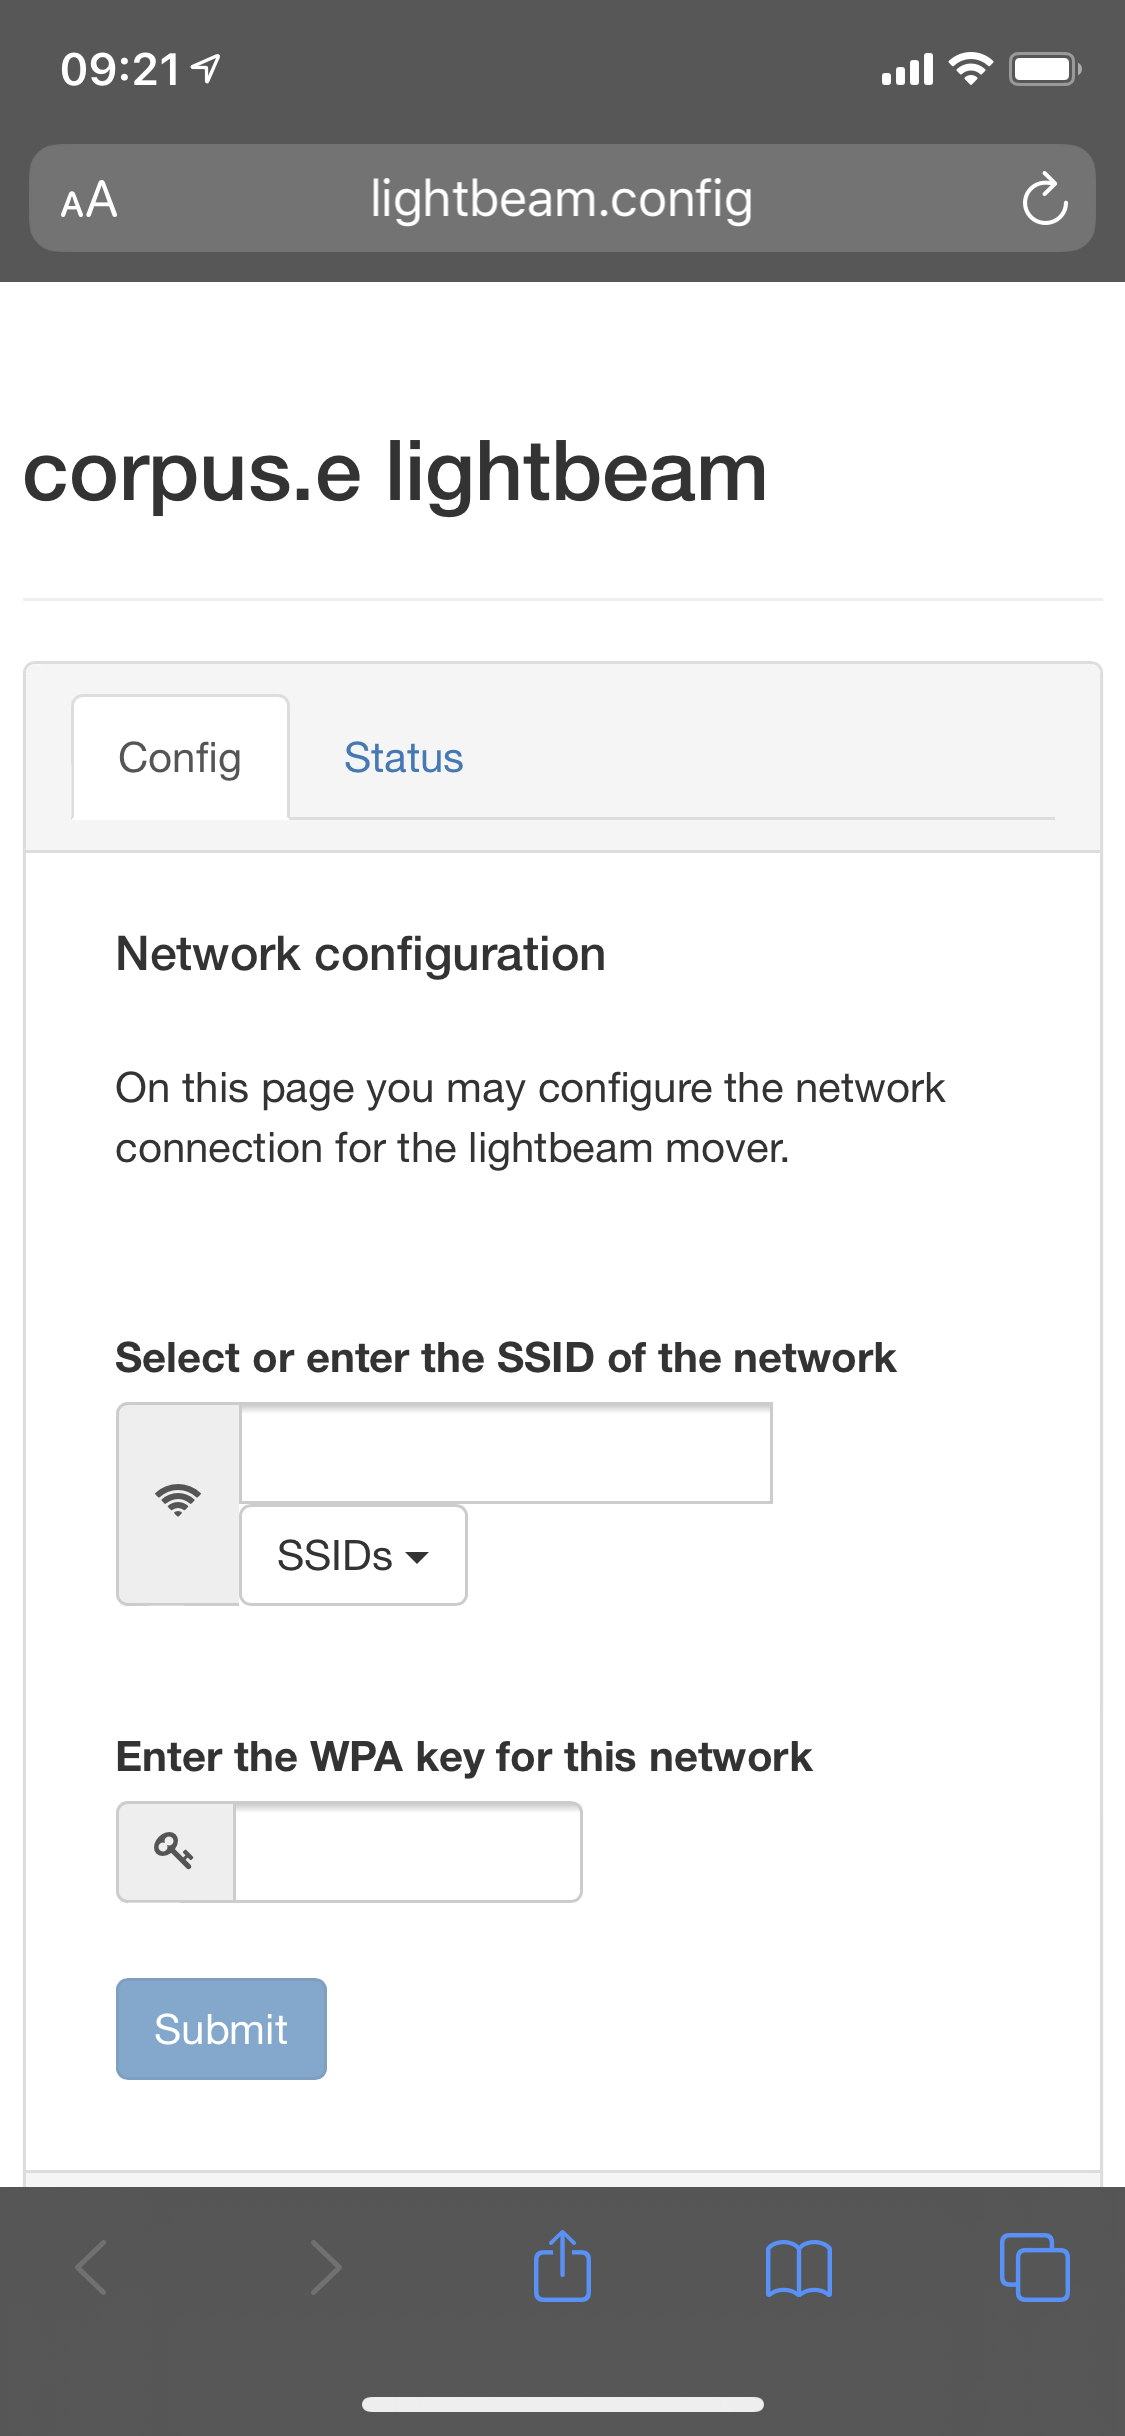
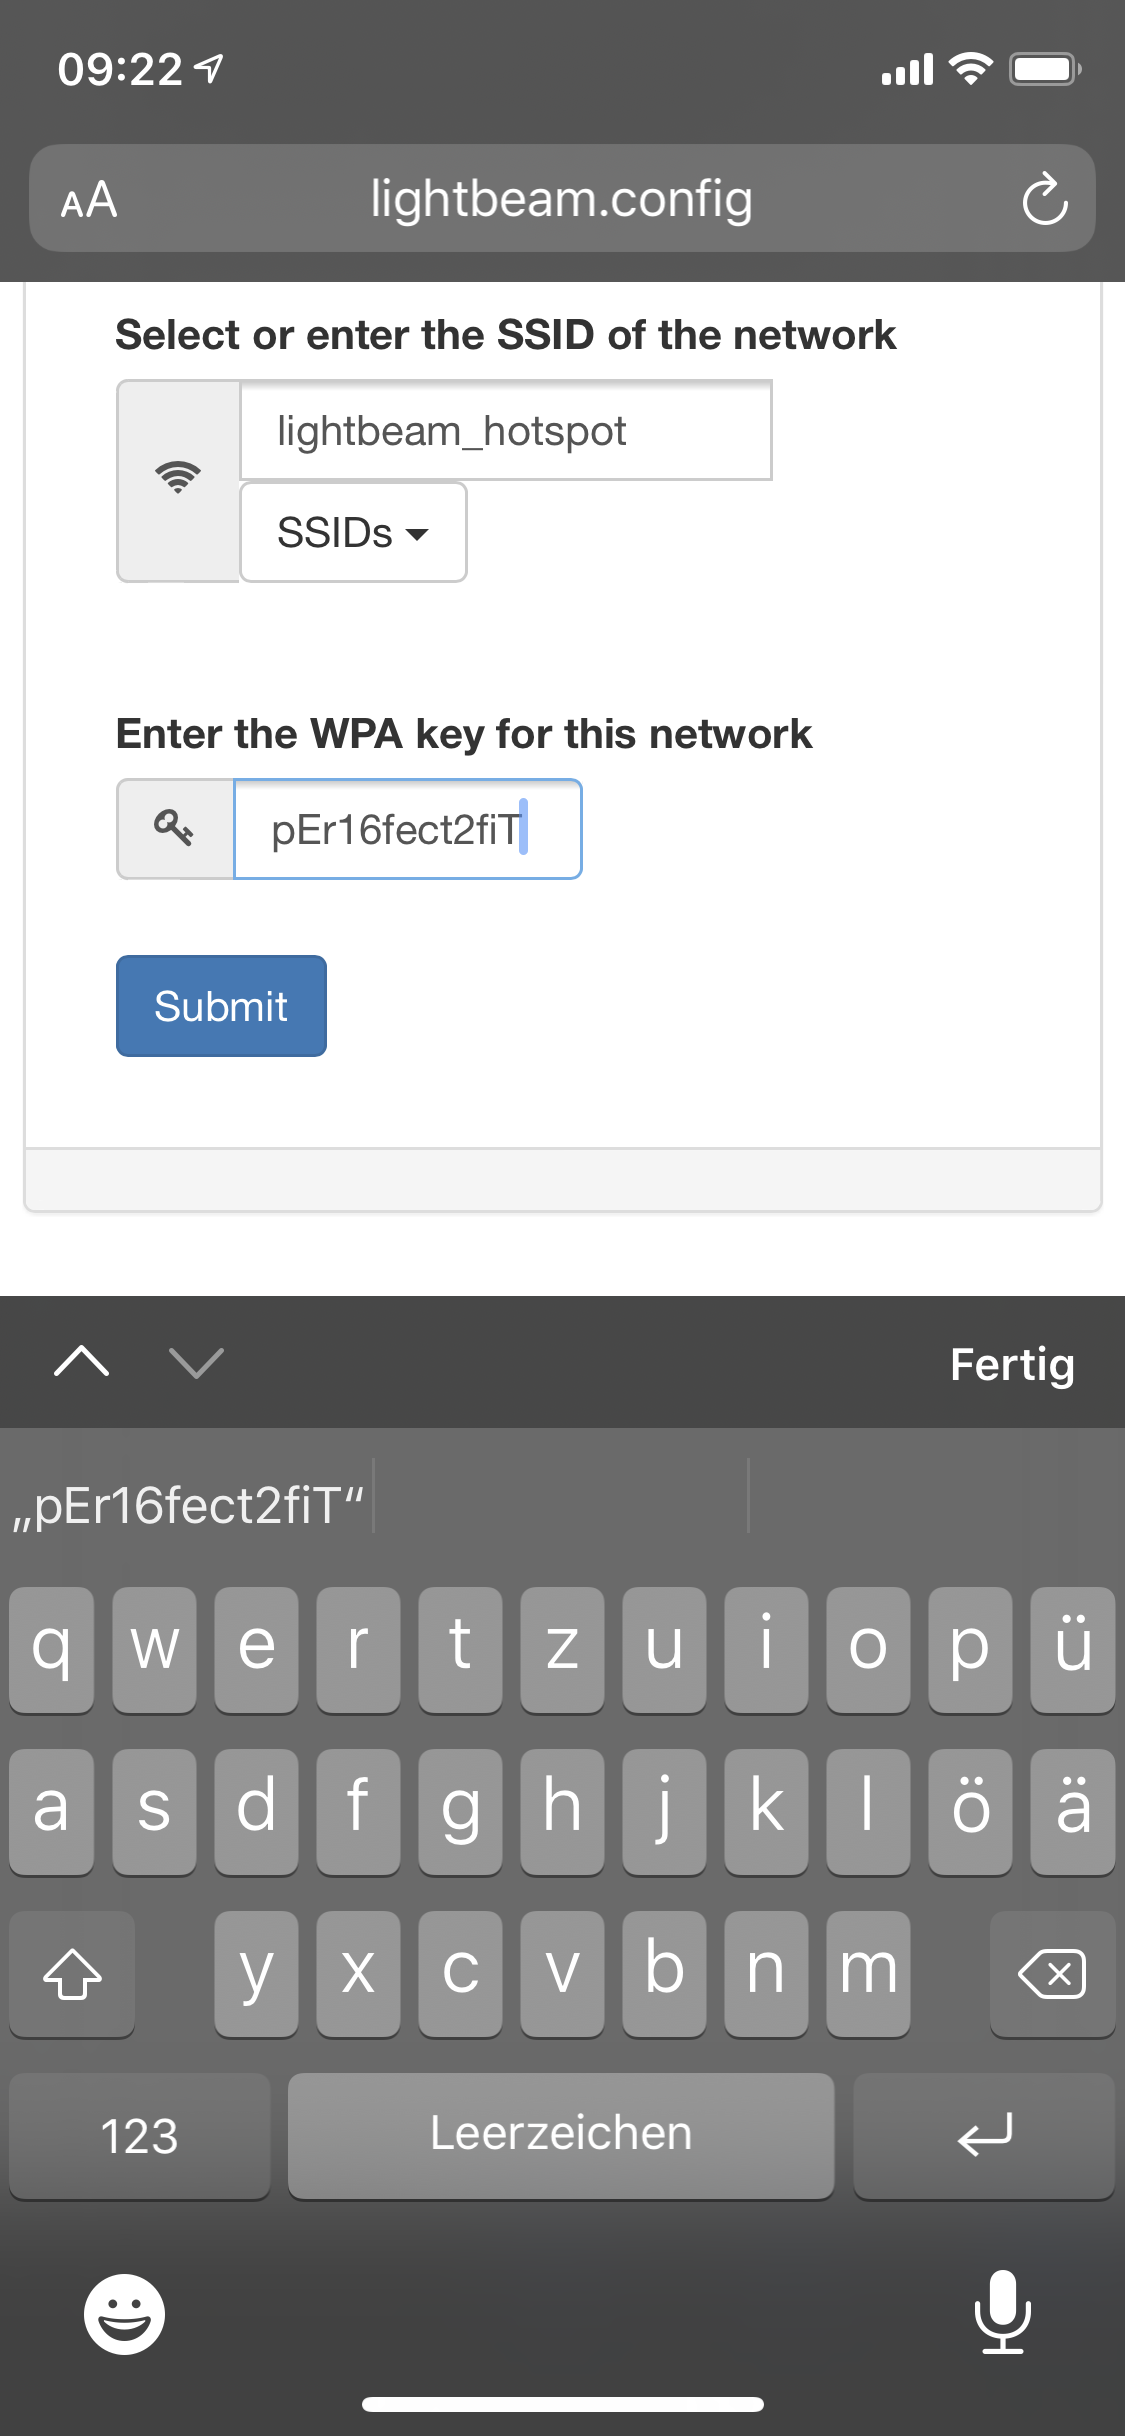
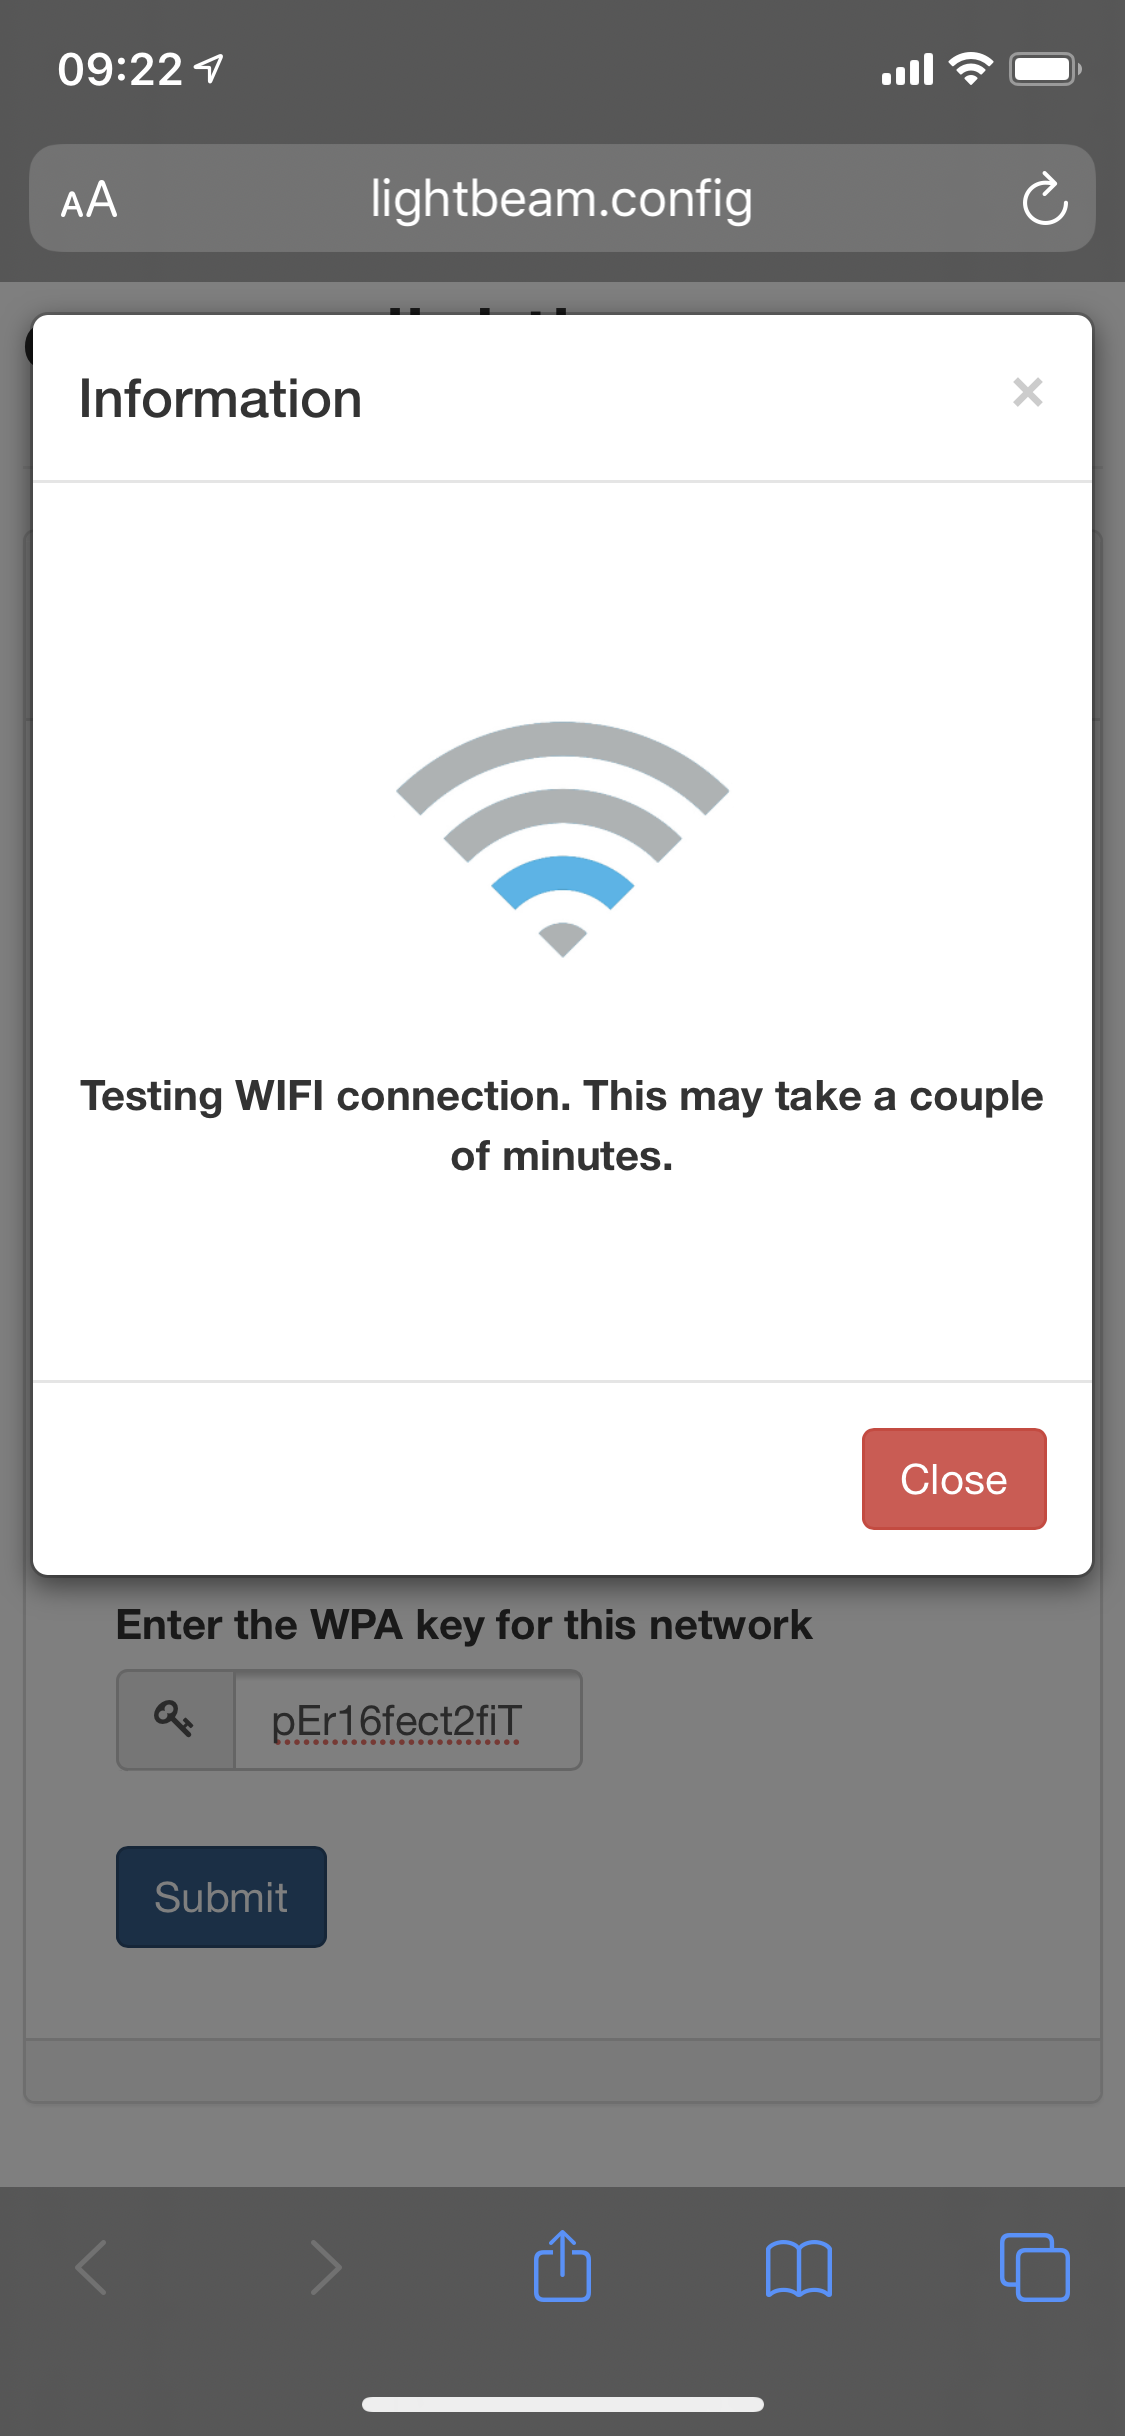
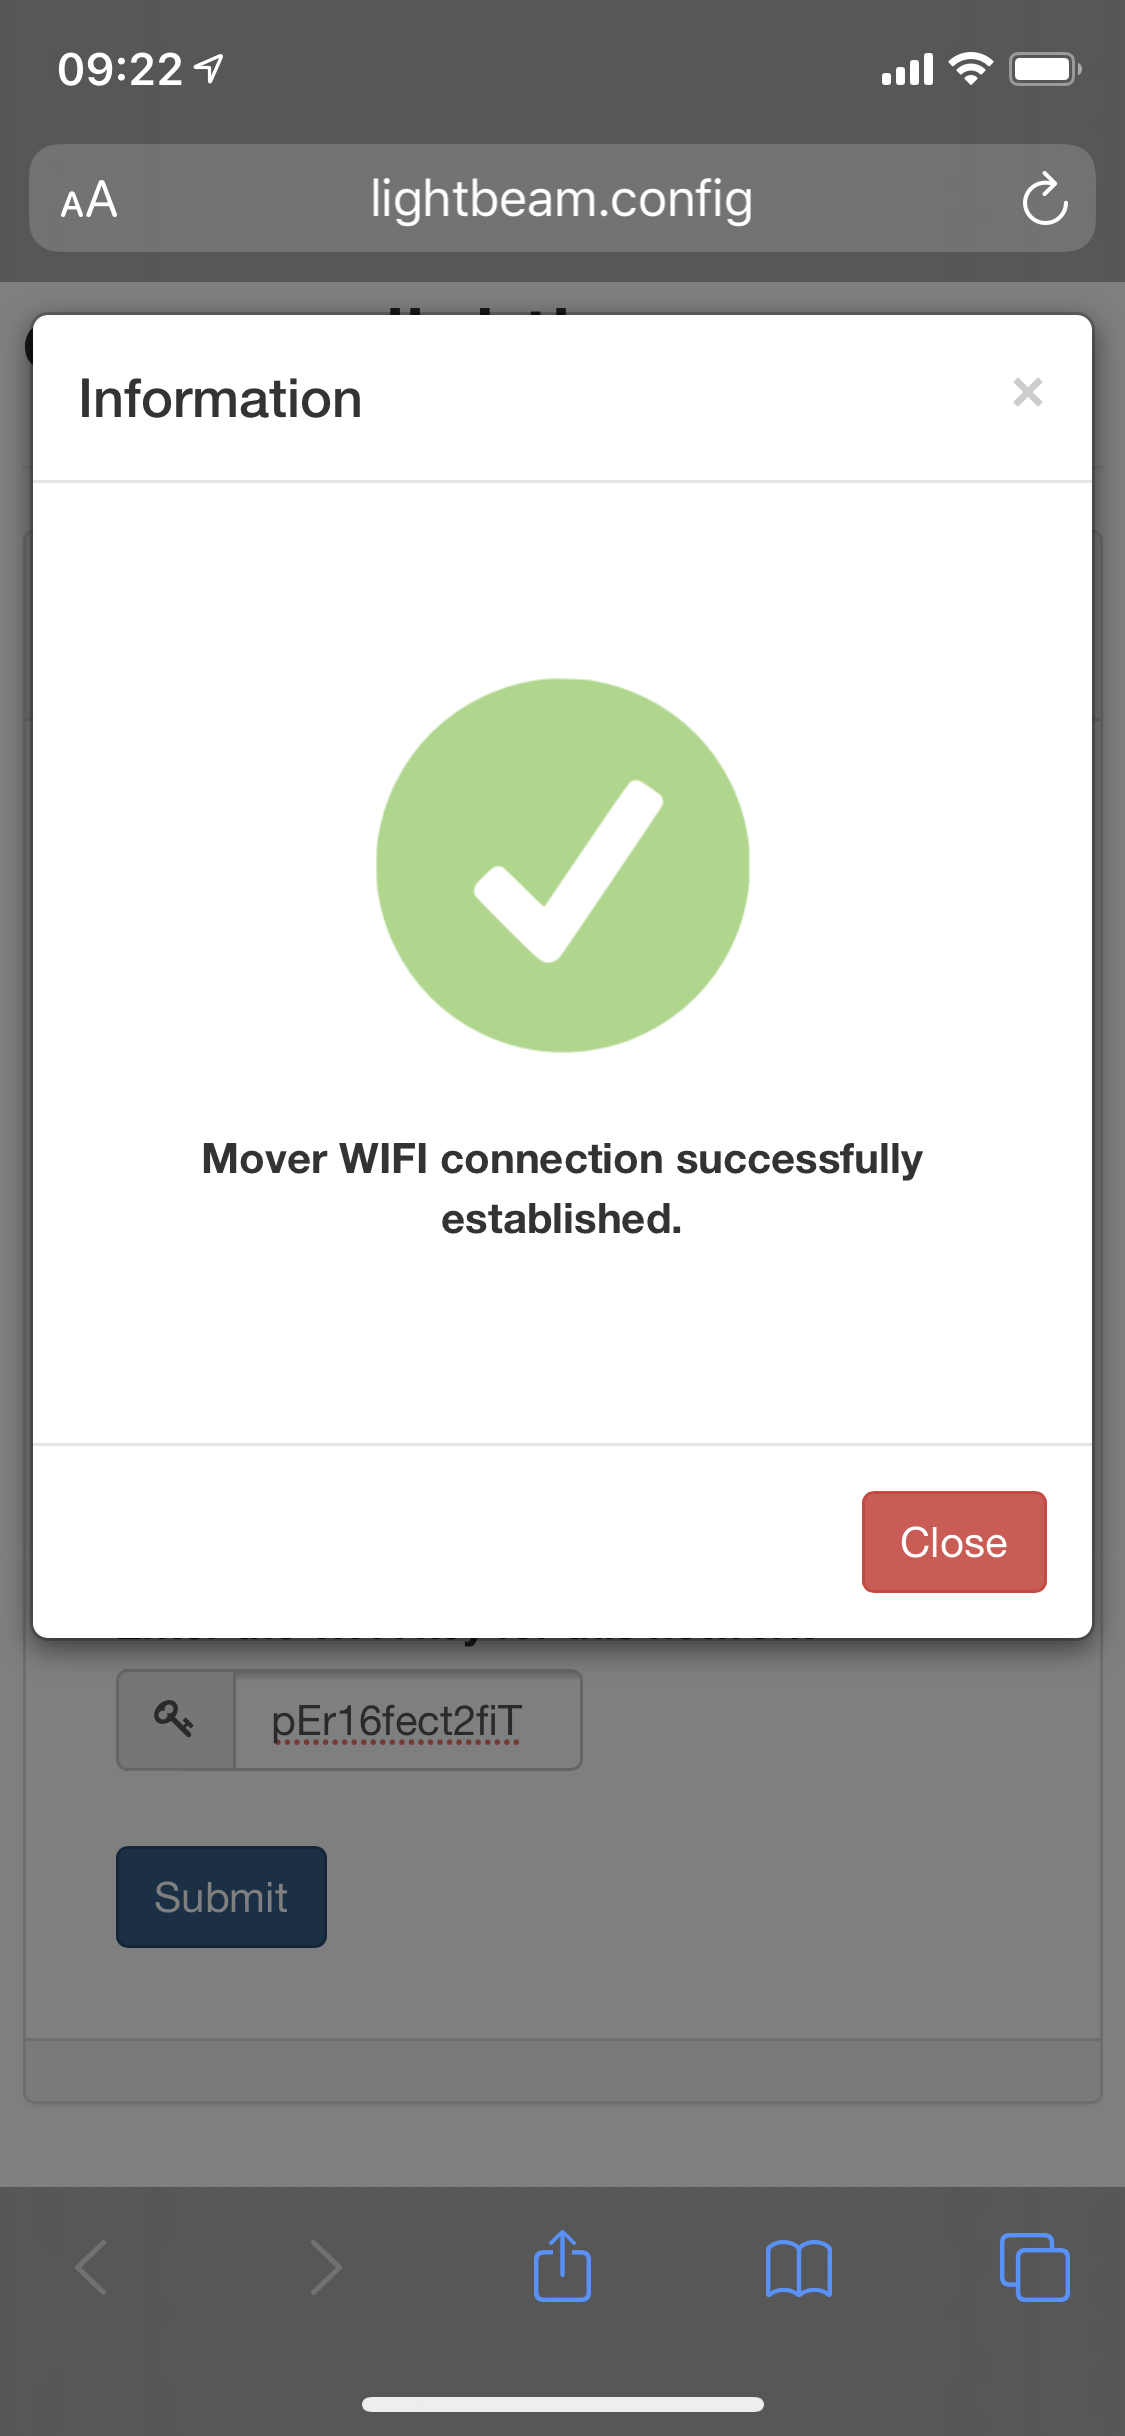
The scanner has a second wifi network for configuration purposes only. It shows up with the SSID lightbeam_444444 where the number is | The password of the configuration network is wireless | When you are connected to the configuration WiFi, | The scanner configuration page shows up. | With the dropdown box please select the WiFi The default WiFi is | Enter the password of the WiFi and press Submit The password of the default WiFi lightbeam_hostpot is pEr16fect2fiT | Please wait until the connection is established. If the connection fails, please make sure, that you have entered the right password of your WiFi. In some cases, also a restart of the scanners Mover helps. | |
|
|
|
|
|
|
|
|