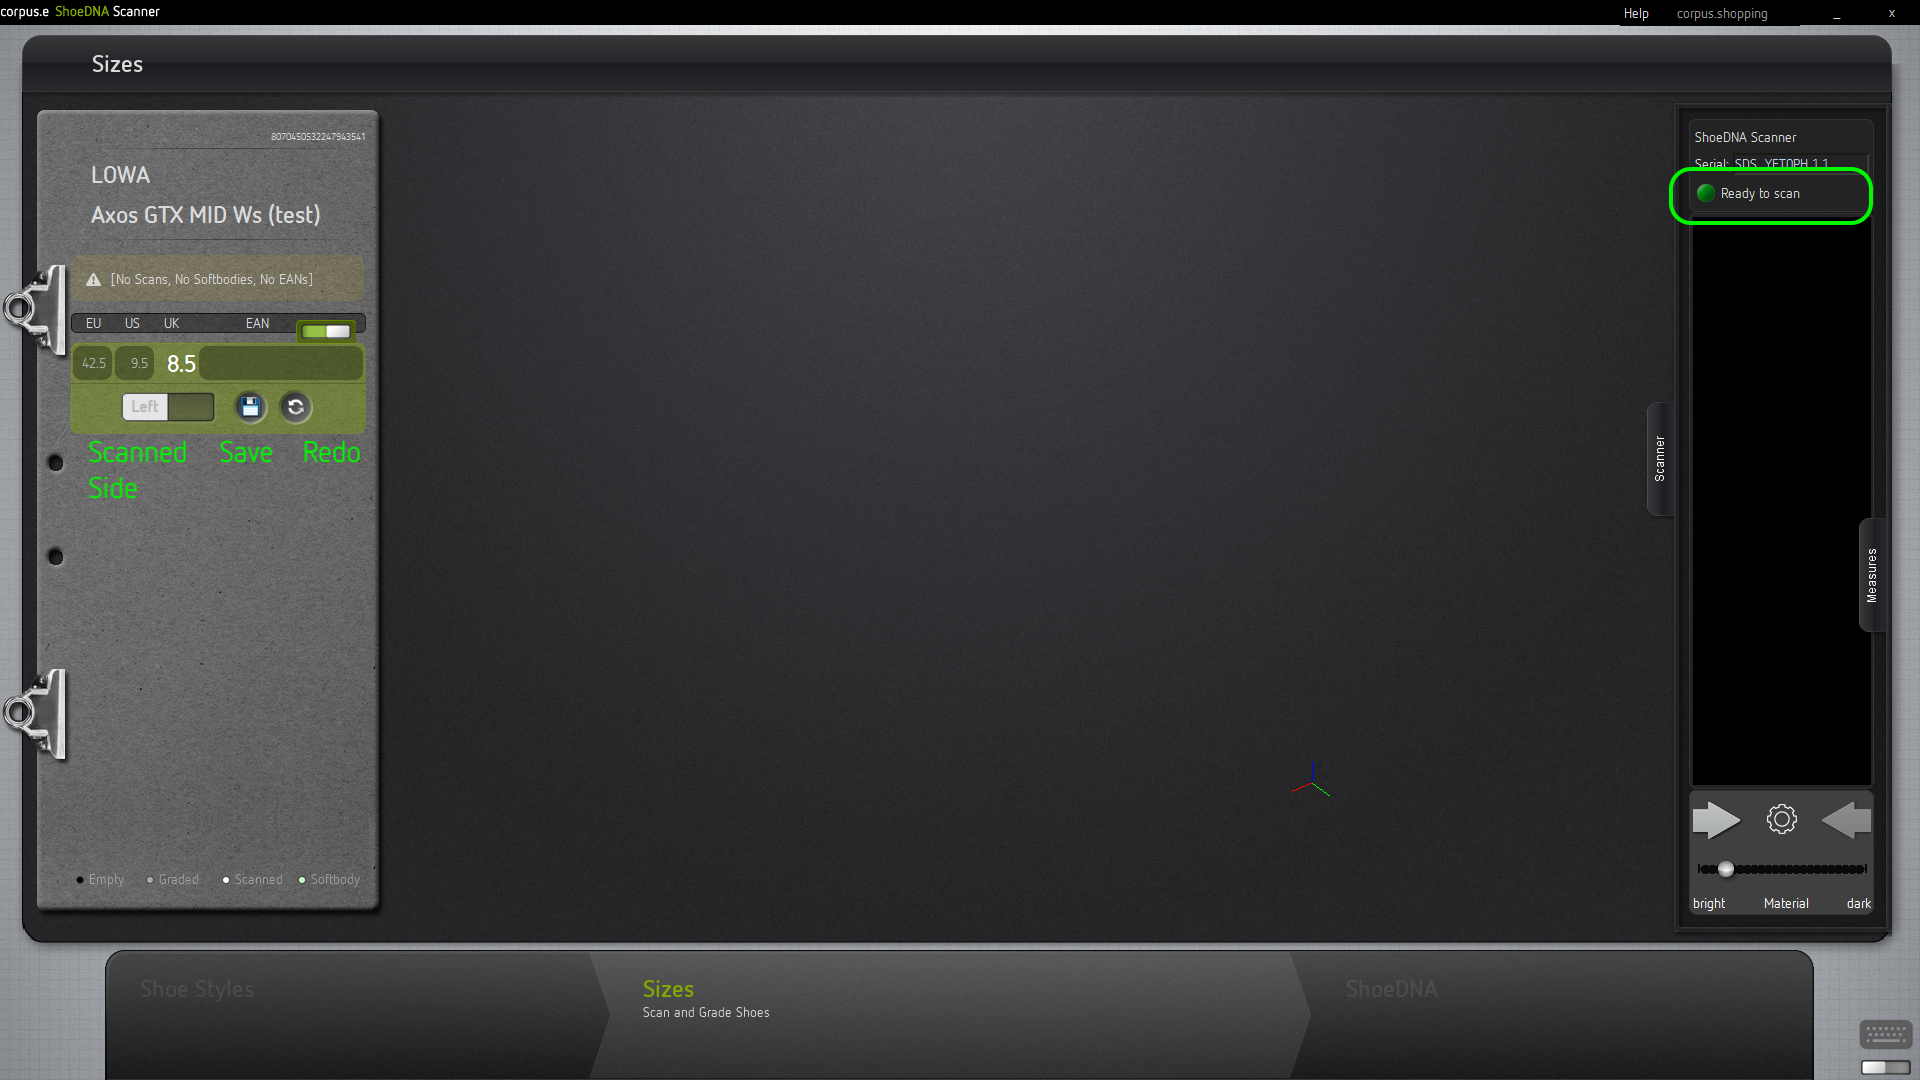
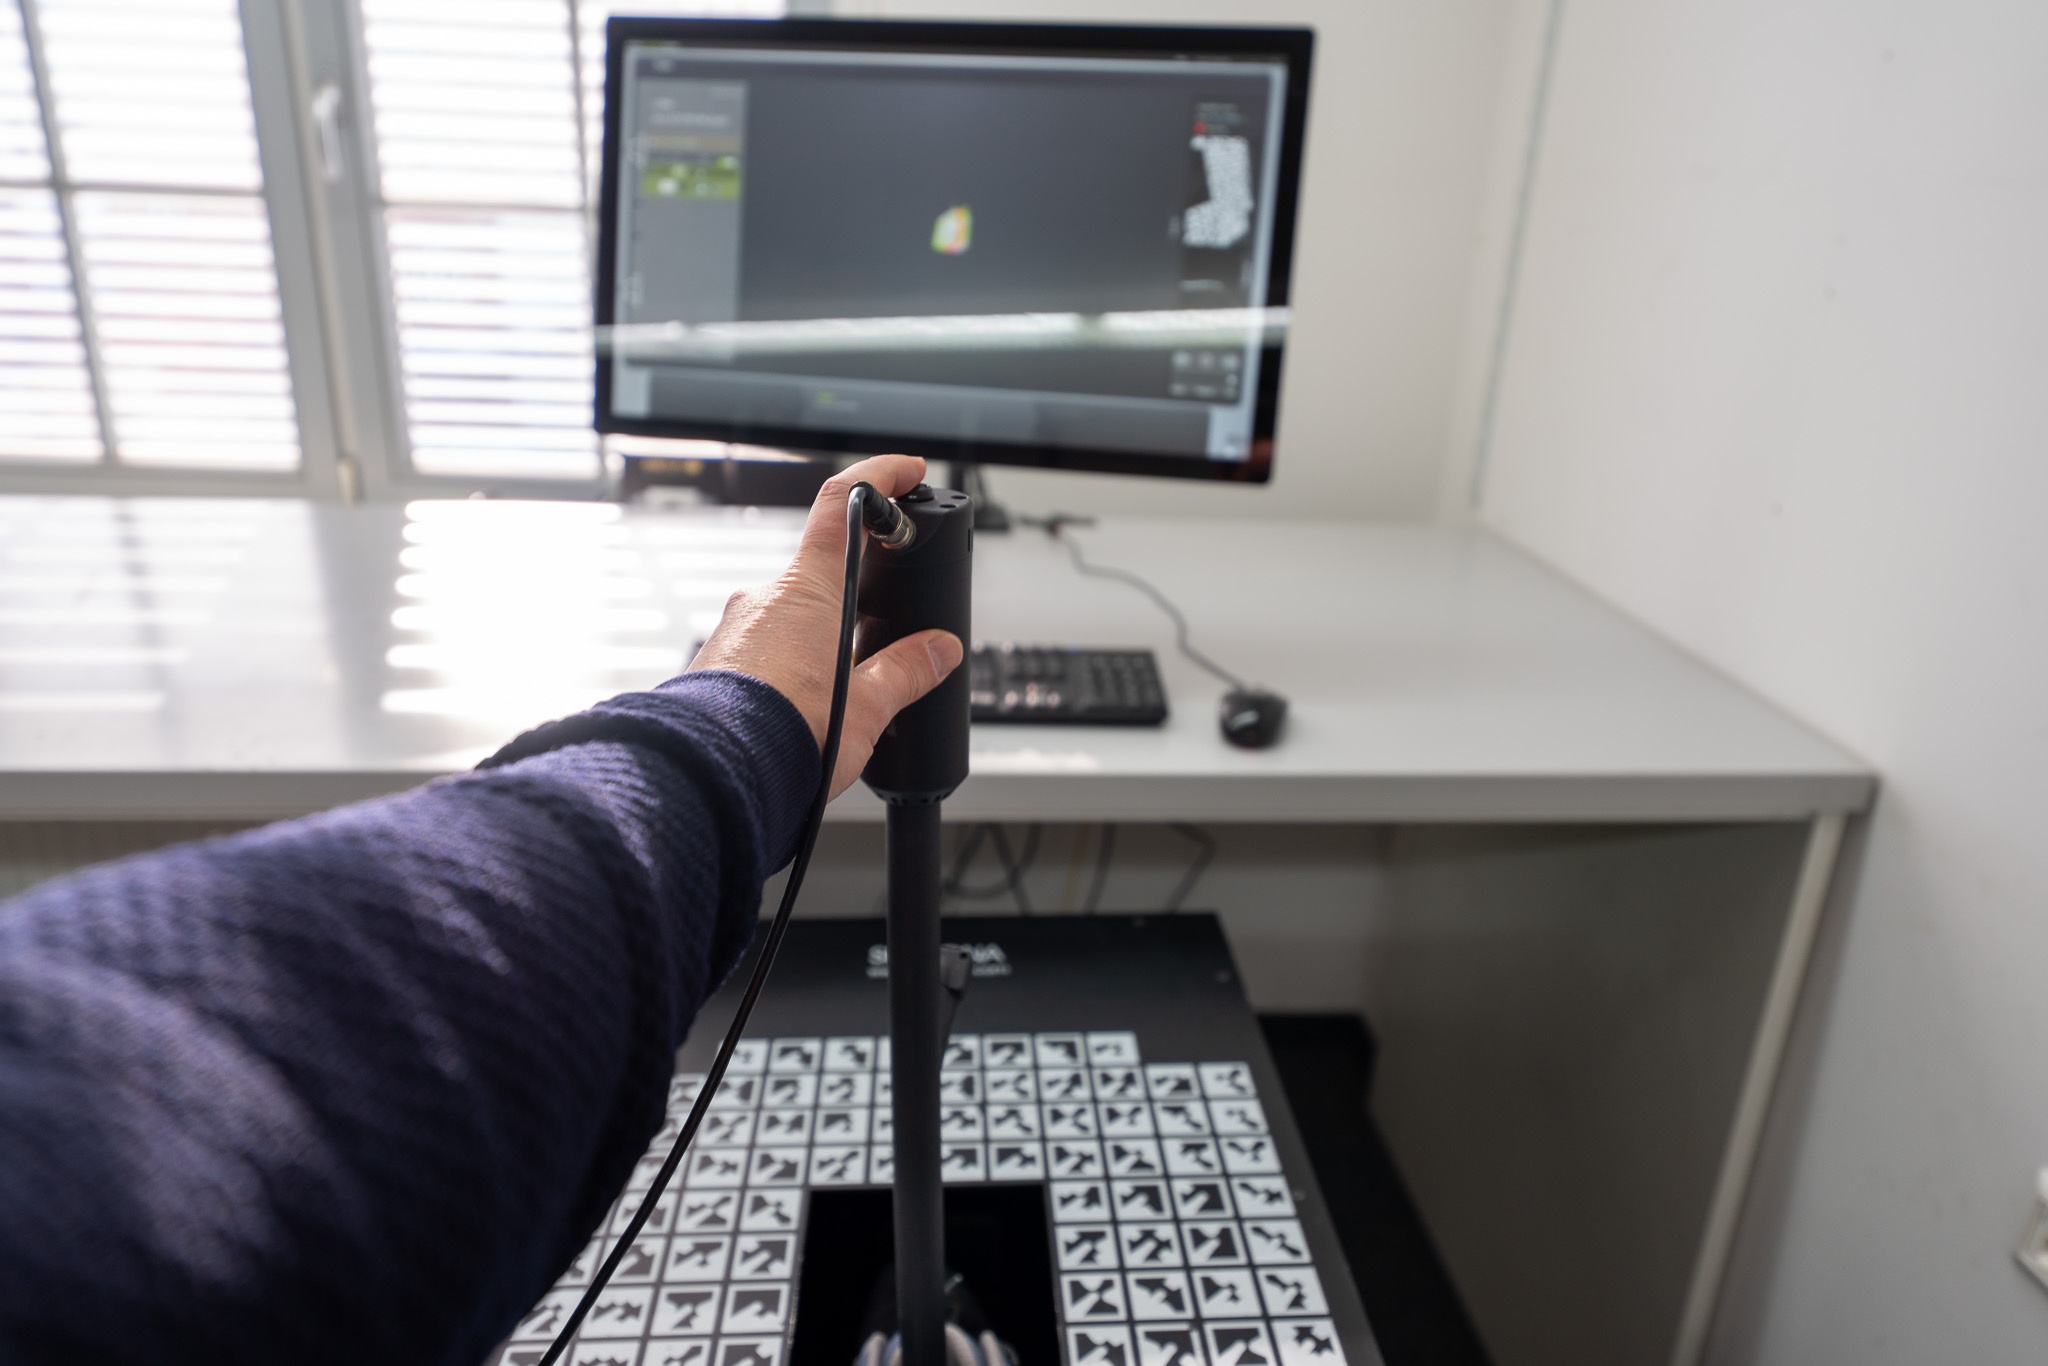
Select the shoe model and size to scan into
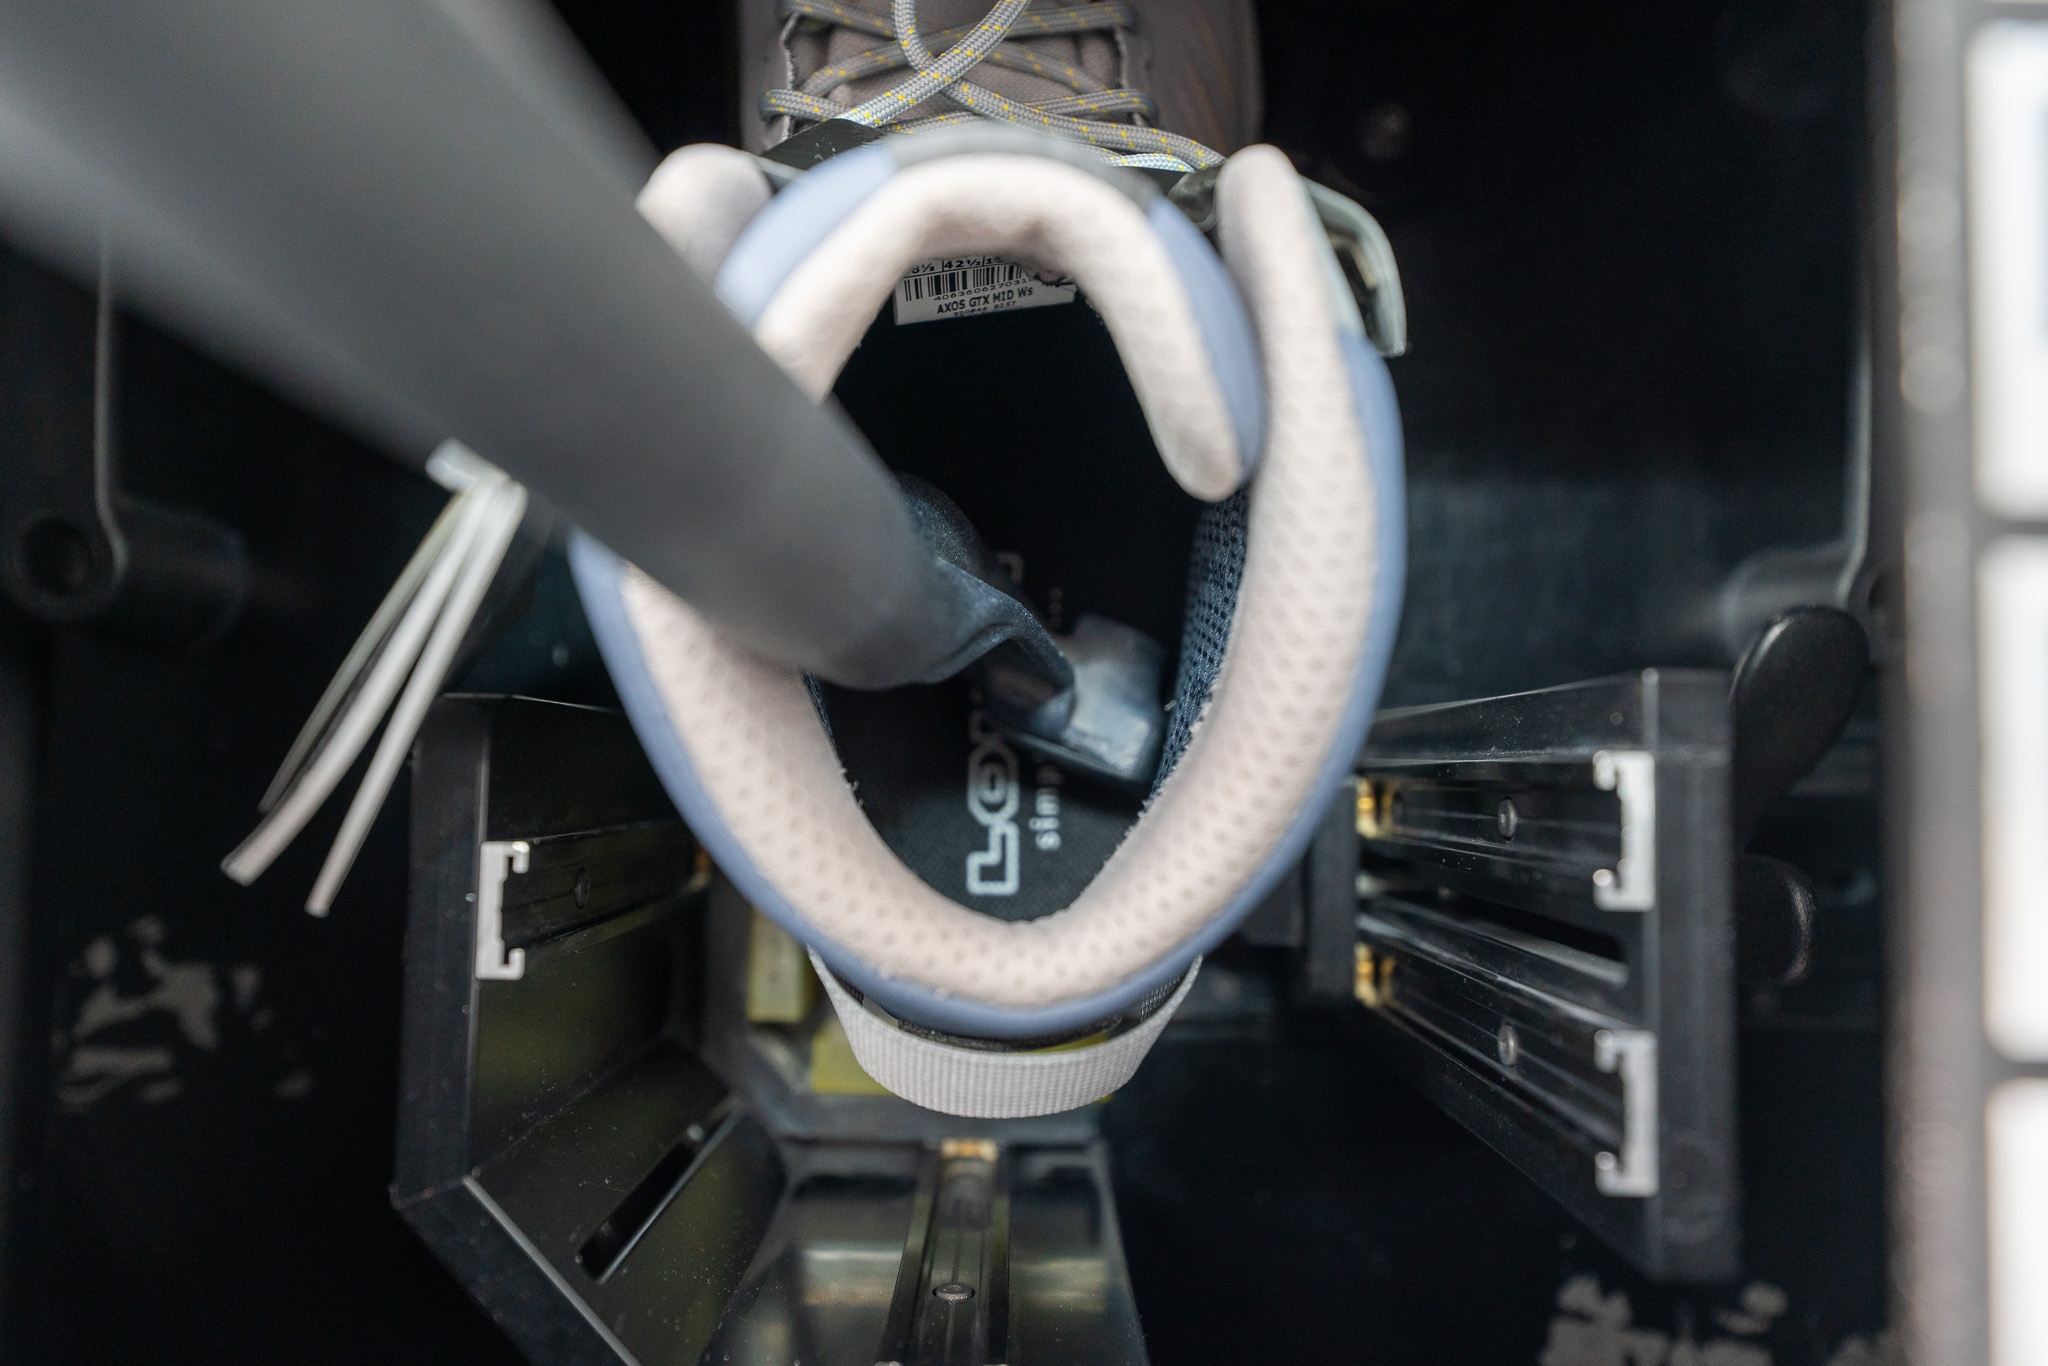
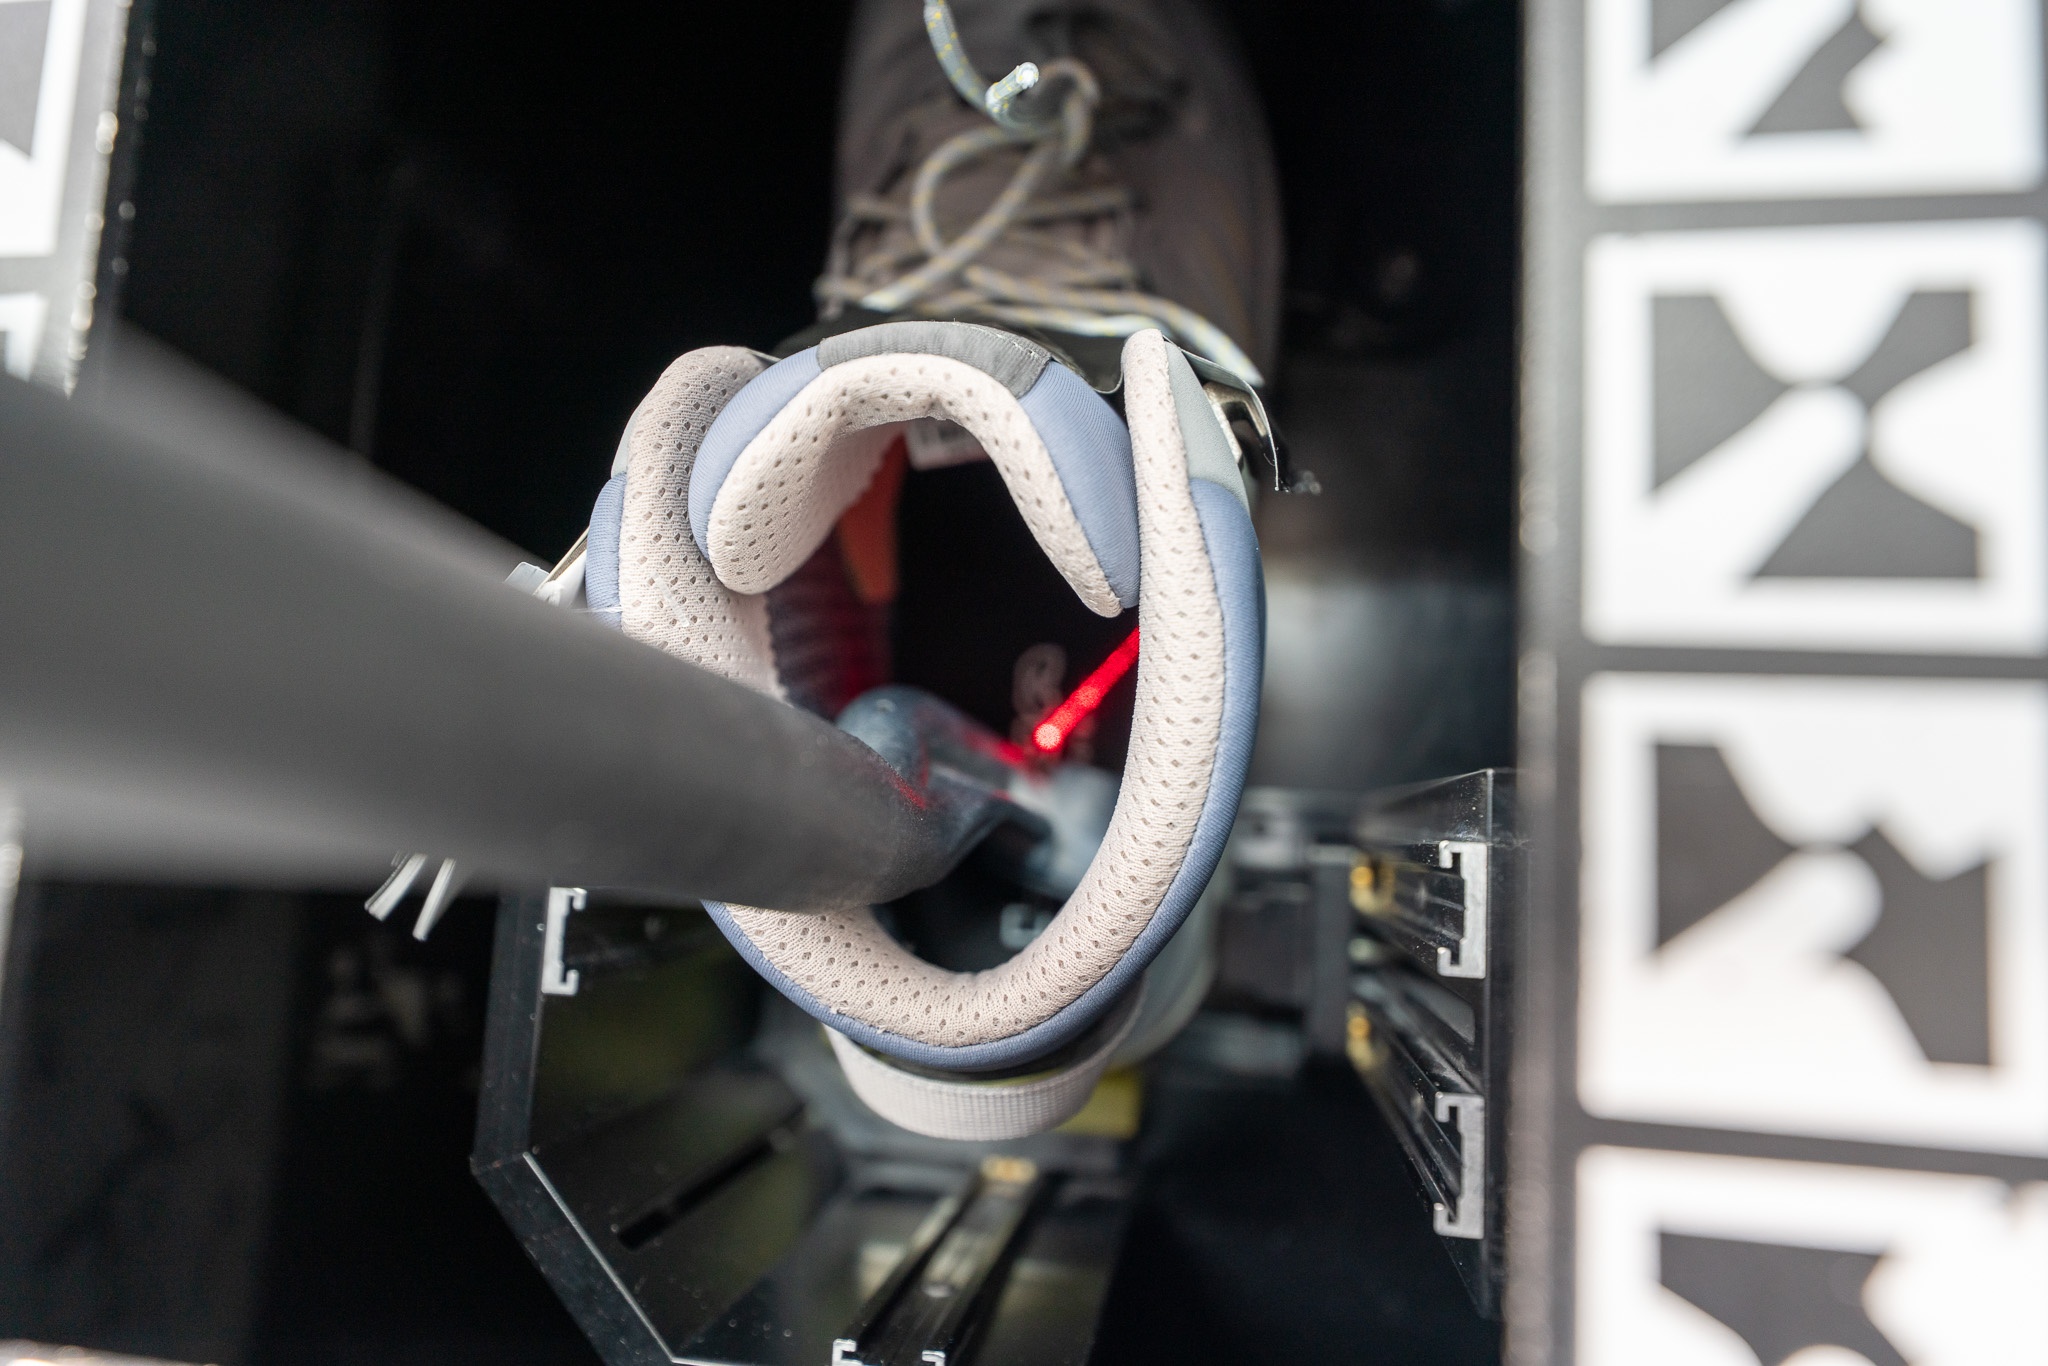
Place the scan head into the shoe
Start with placing the scanners laser head on the insole in the center area of the heel.
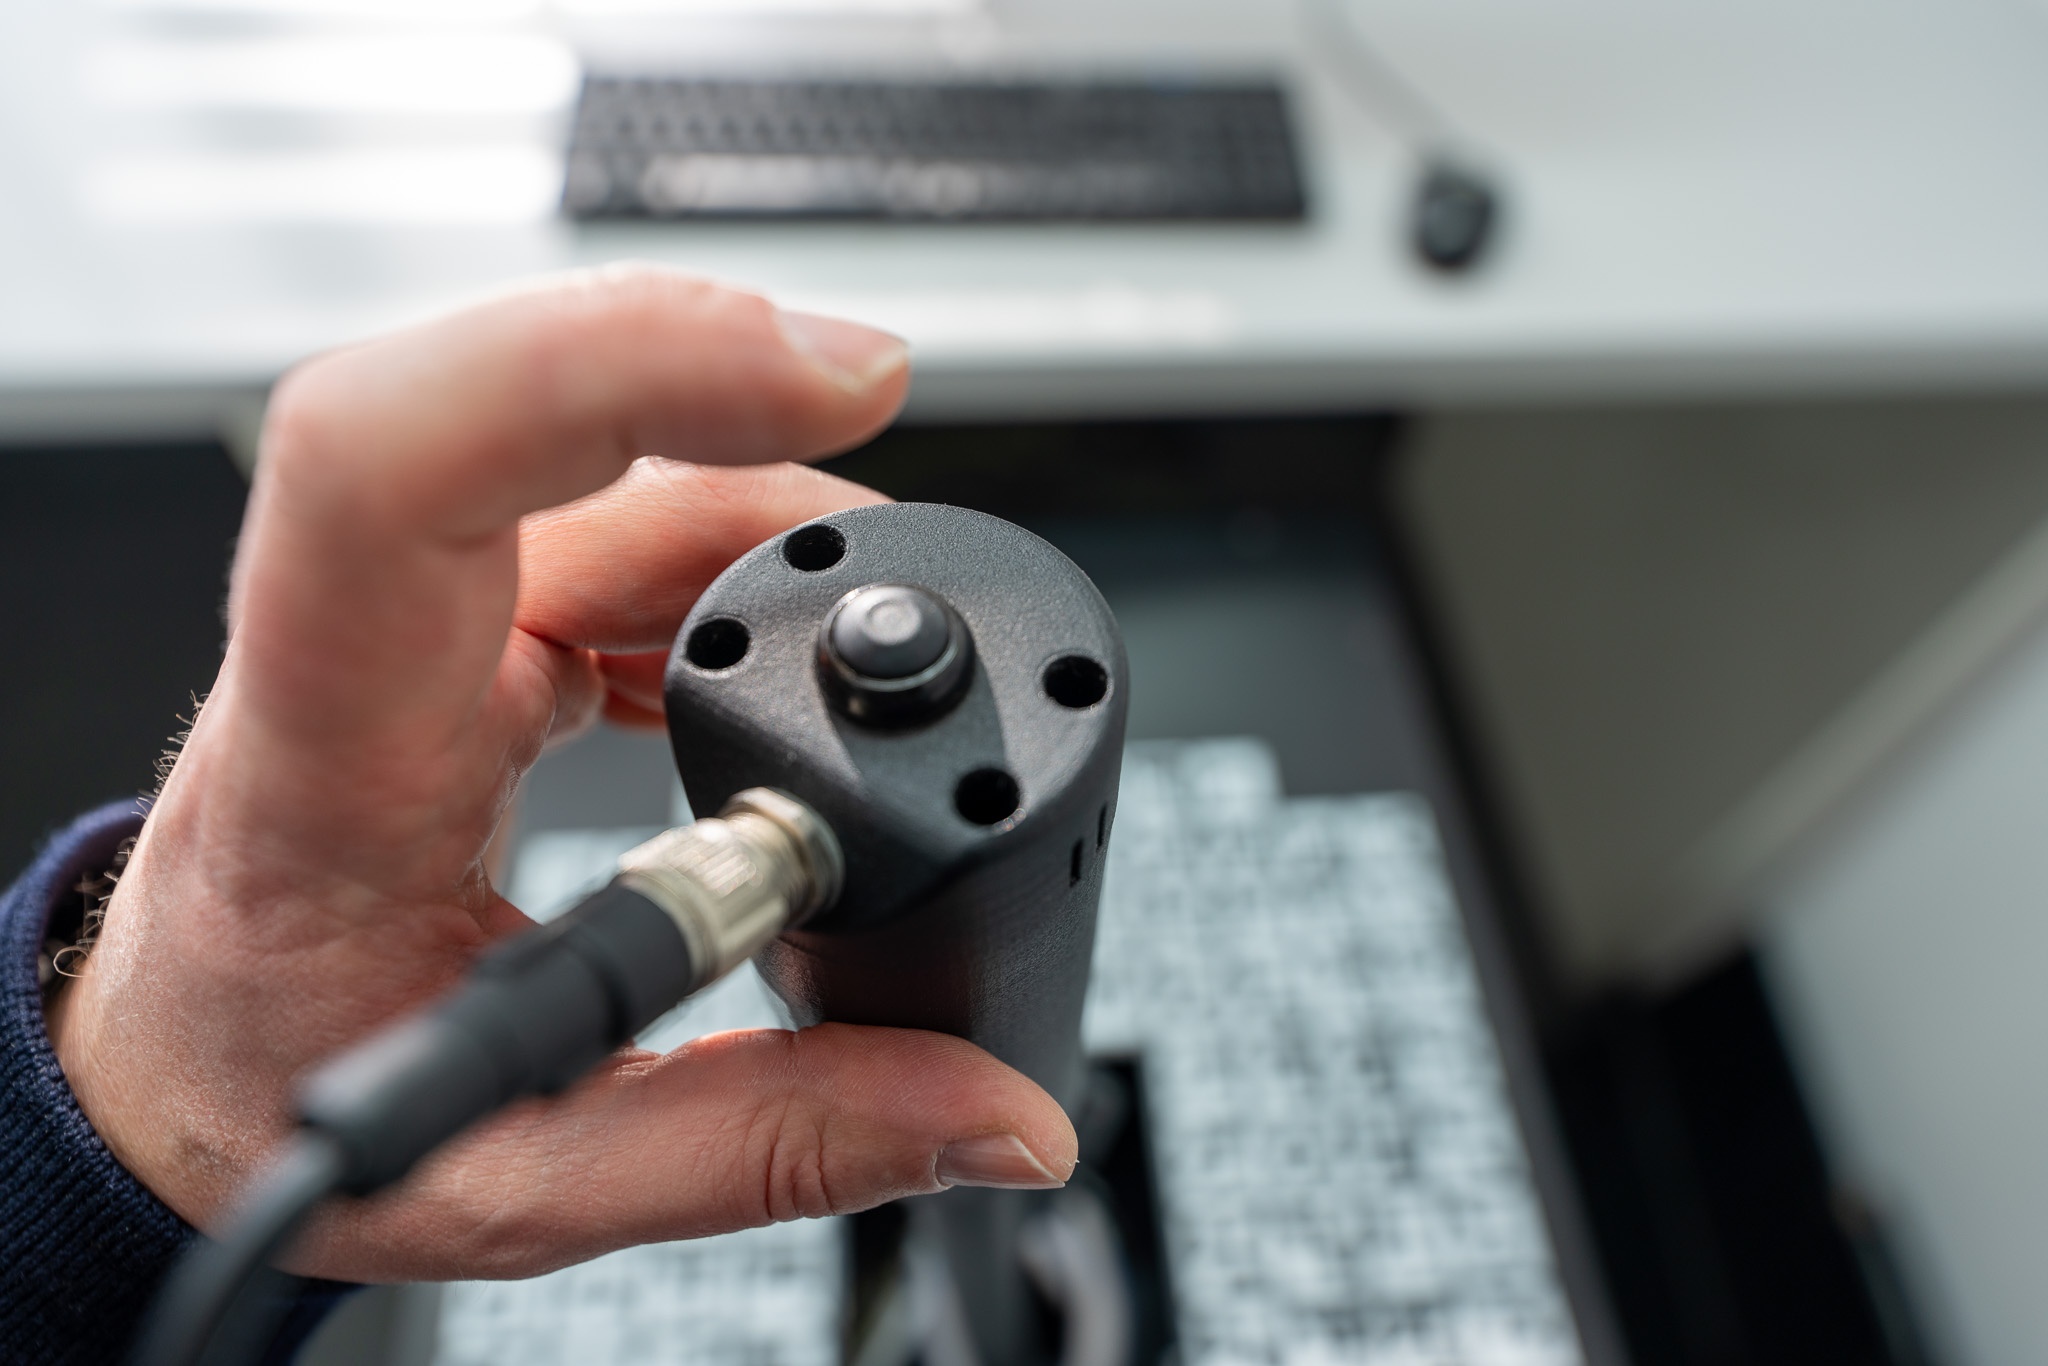
Start (and pause) the scan with the button on the scanner
You can always start and pause the scan with the button on the scanner. When started, you should see a red laser line in the software starting to capture line by line of the inner surface.
Scanning
Try to capture the whole inner surface of the shoe with the red laser by basically turning the scan arm by 360 degrees inside of the shoe. The aim is to close as much of the inner surface as possible.
Start first by placing the head on the inner sole. If you are scanning a boot, in the second 360 degrees turn you should hold the head a bit above the inner sole.
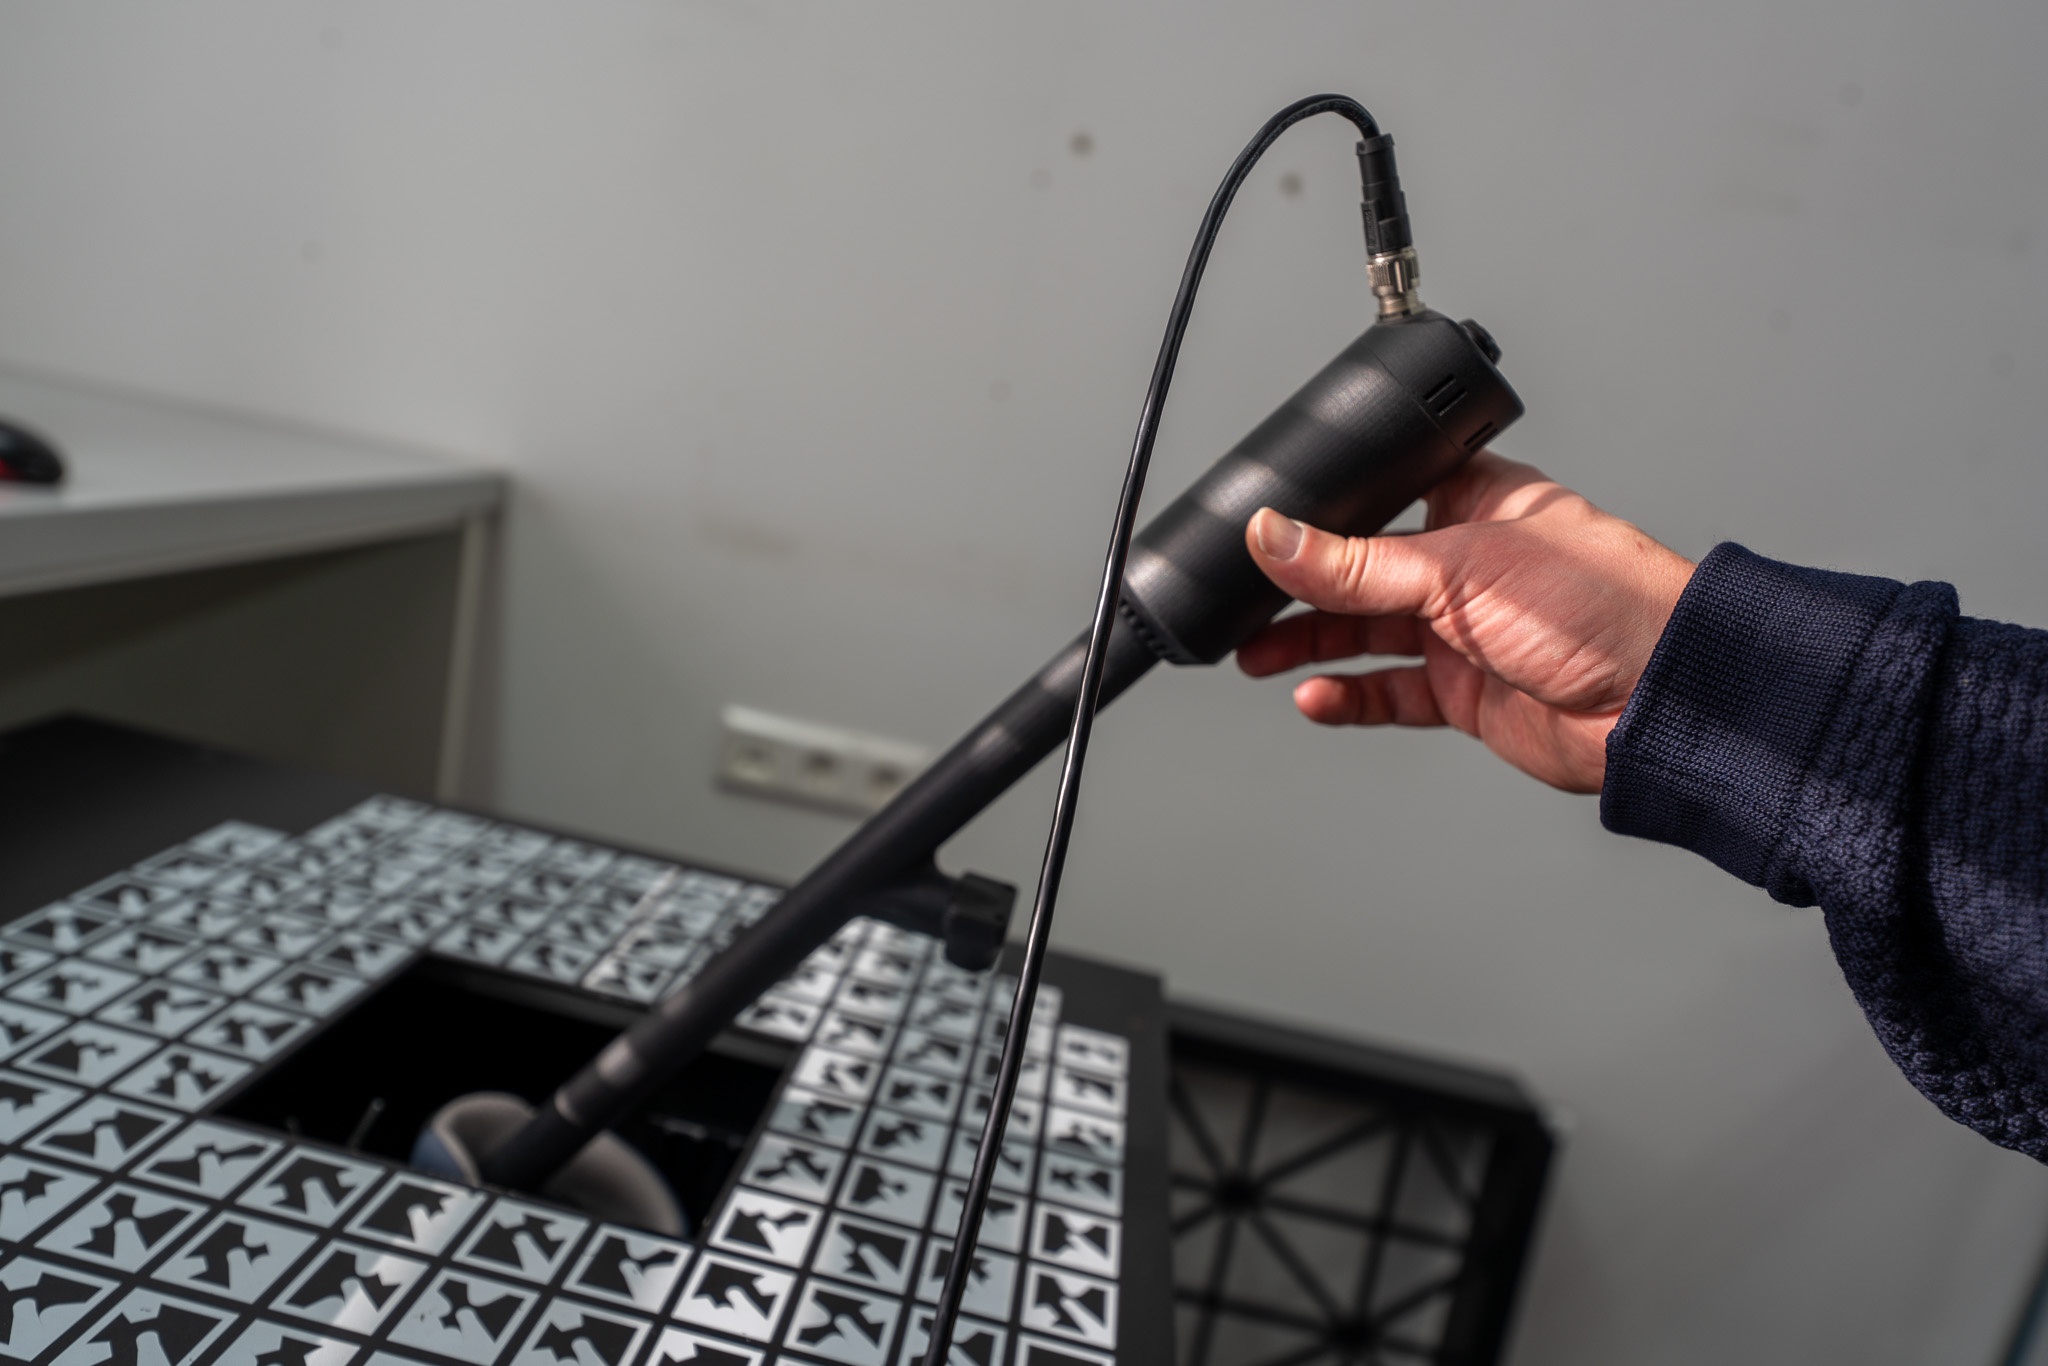
To get the sole or the top of the toe area, it helps to tilt the scanner a bit like shown on the picture.
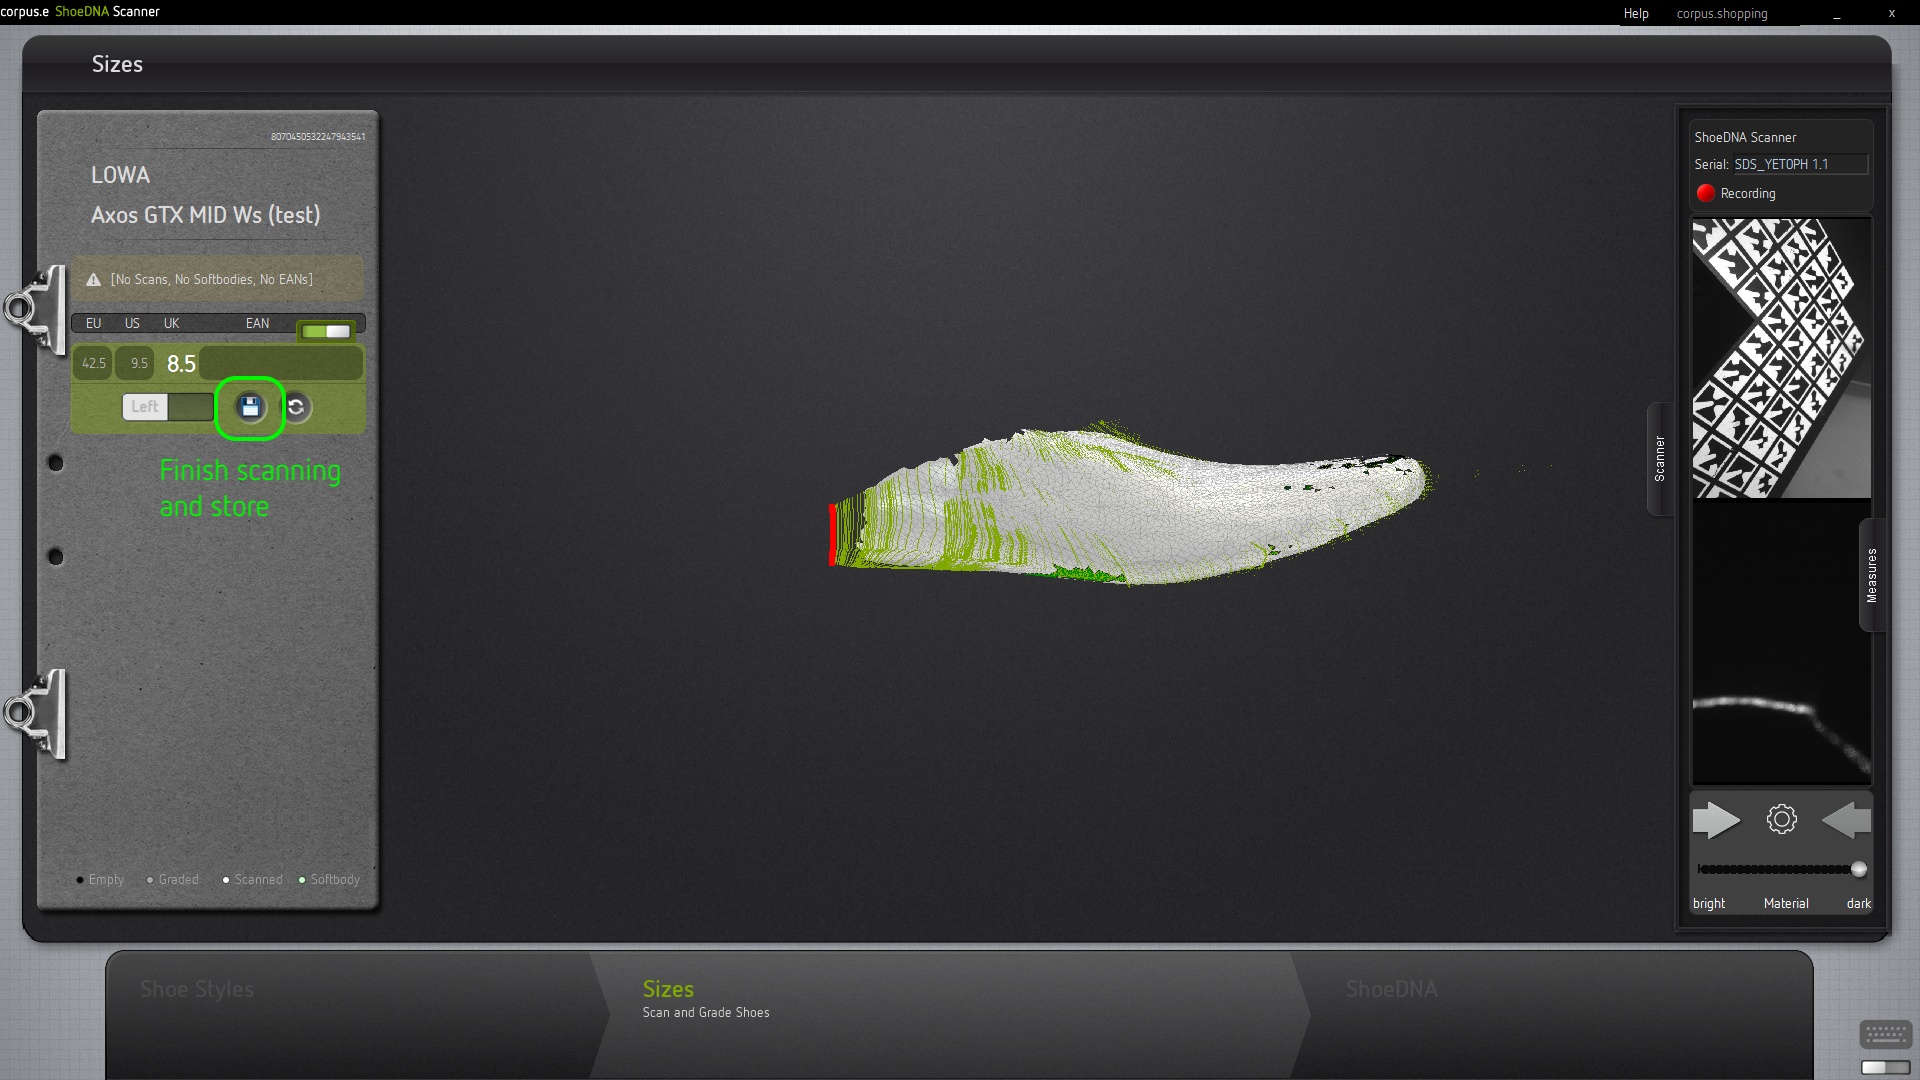
Finish the scan and store
When you have captured enough of the inner surface, press the (physical) "Pause" button on the scan arm, store the arm and press the "Finish scanning and store" button in the software.

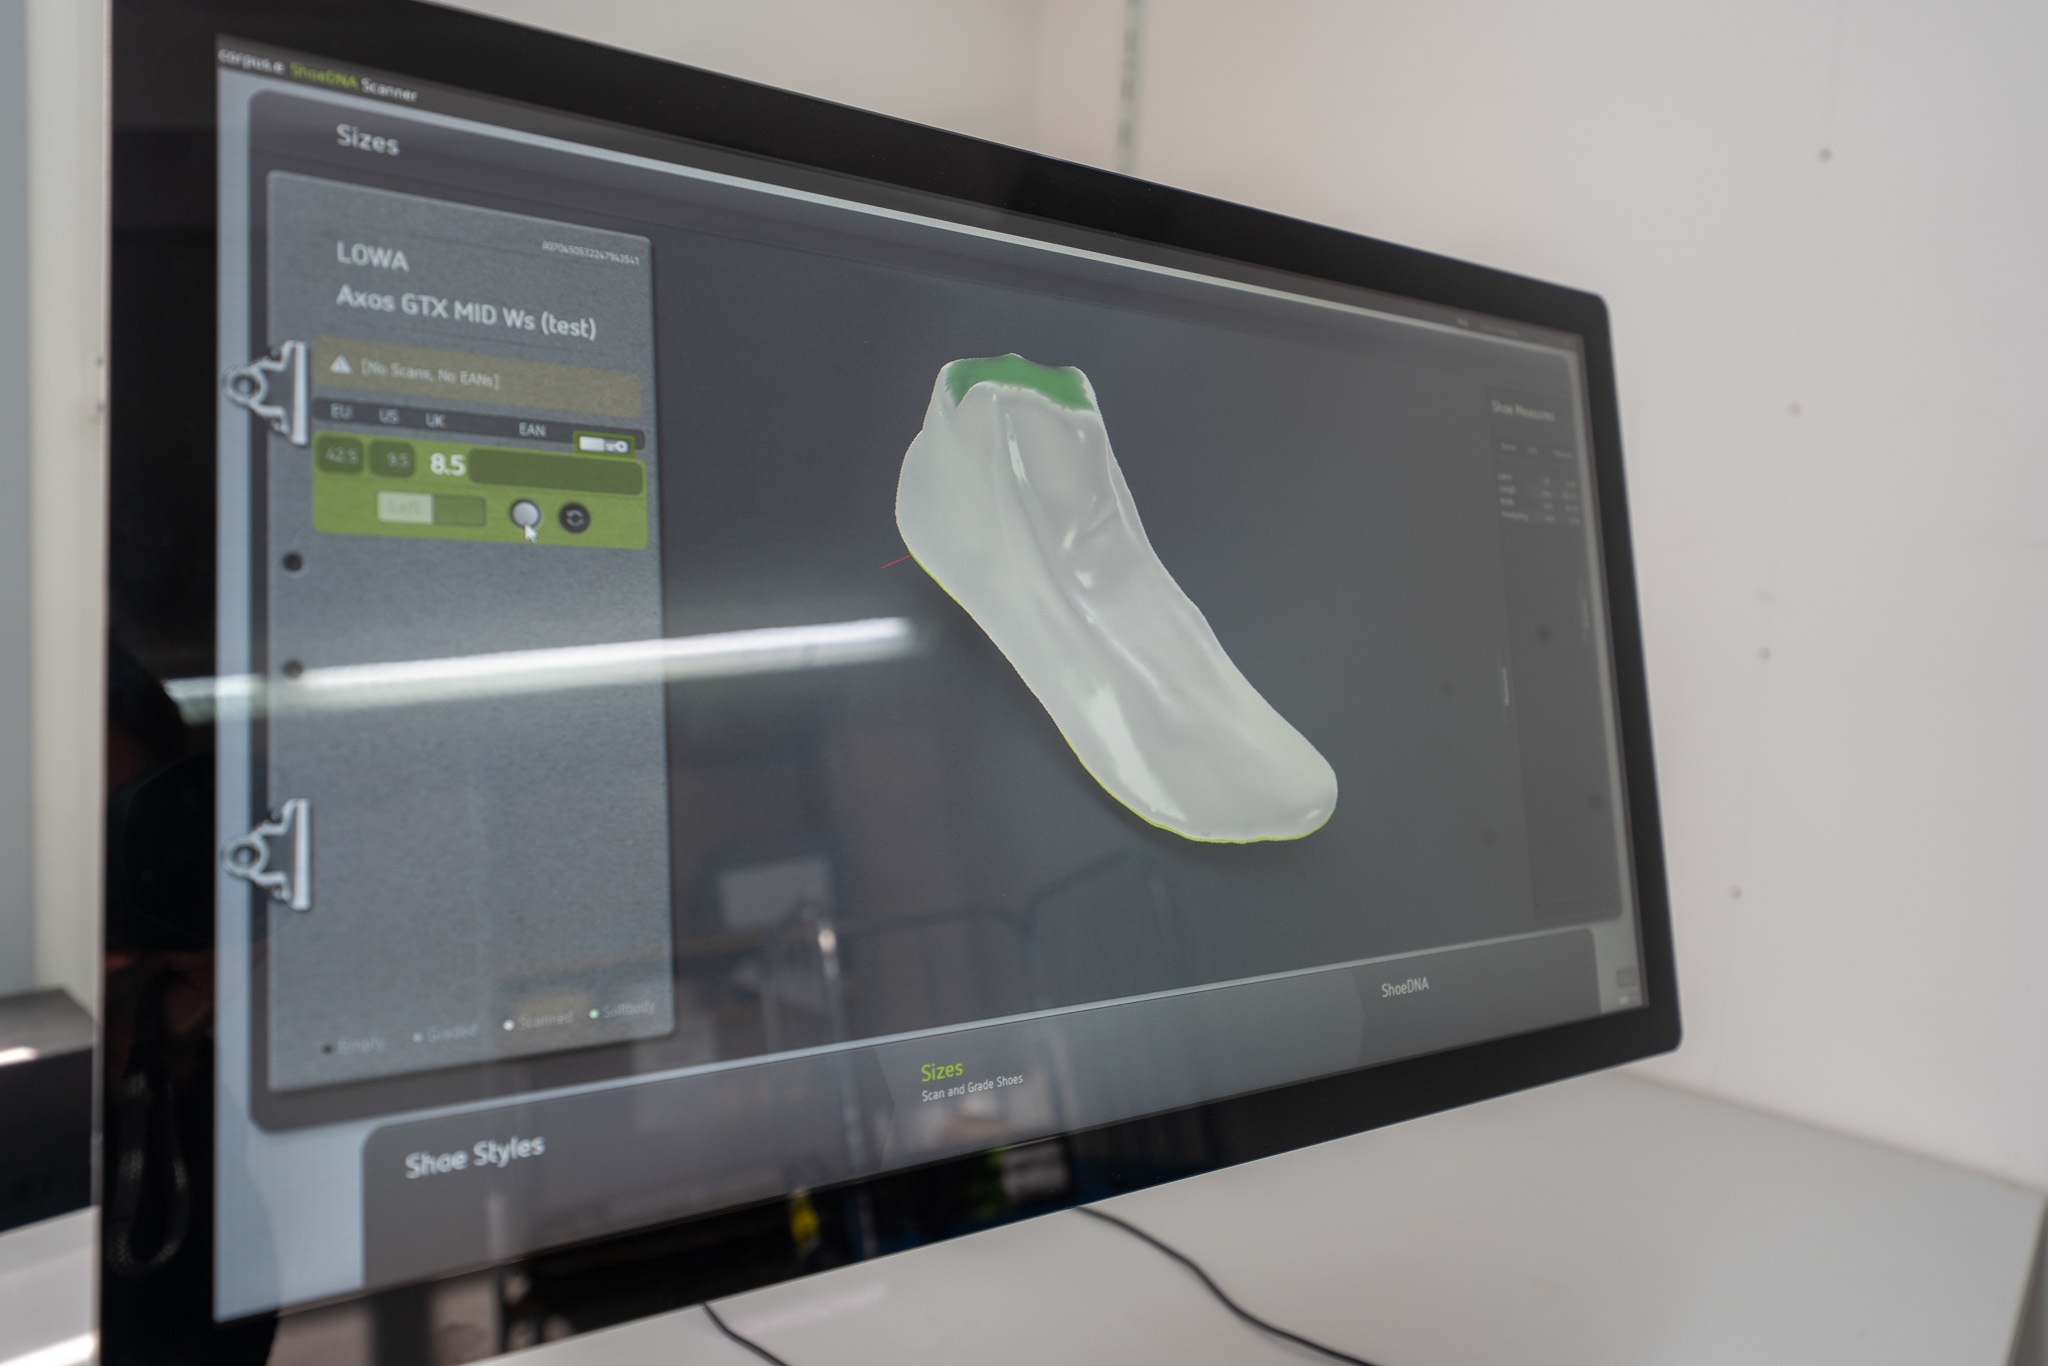
After calculating and finishing the scan, the result should appear on your screen. You can always mirror the scan (scanned side) or re-scan if your are not satisfied with your result.
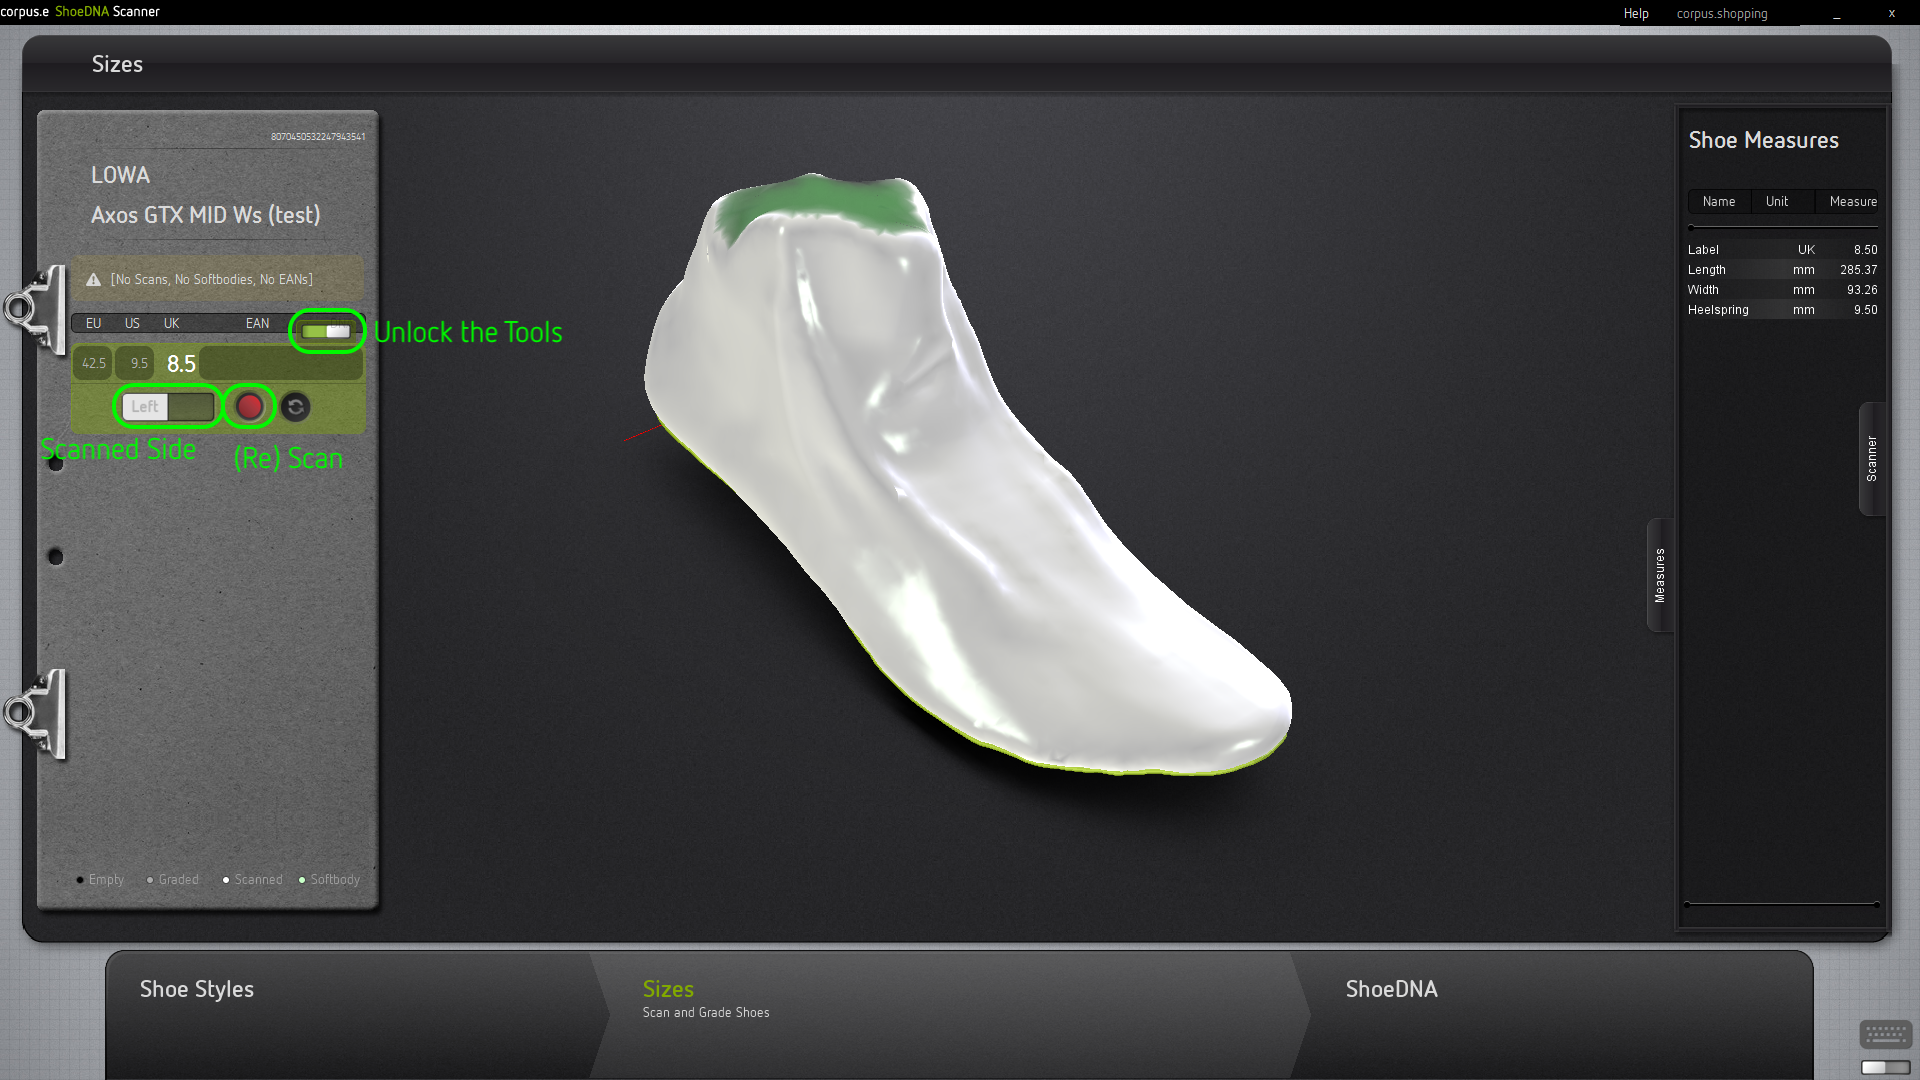
See and check your scan
Turn the scan with the mouse or your touch screen and check the quality. If you are not satisfied with the scan result, you can always re-scan.